 how-to
School Logos in Terrazzo: A Design & Installation Guide
Table of Contents
- Understanding Terrazzo as a Medium for School Logos
- Terrazzo School Logo Design: From Concept to Approval
- School Colors in Terrazzo Flooring
- Terrazzo Logo Installation Process
- Terrazzo Flooring Cost for Schools
- Maintenance and Long-Term Durability
- Avoiding Common Installation Mistakes
- Frequently Asked Questions
Last Updated: October 6, 2026
Understanding Terrazzo as a Medium for School Logos
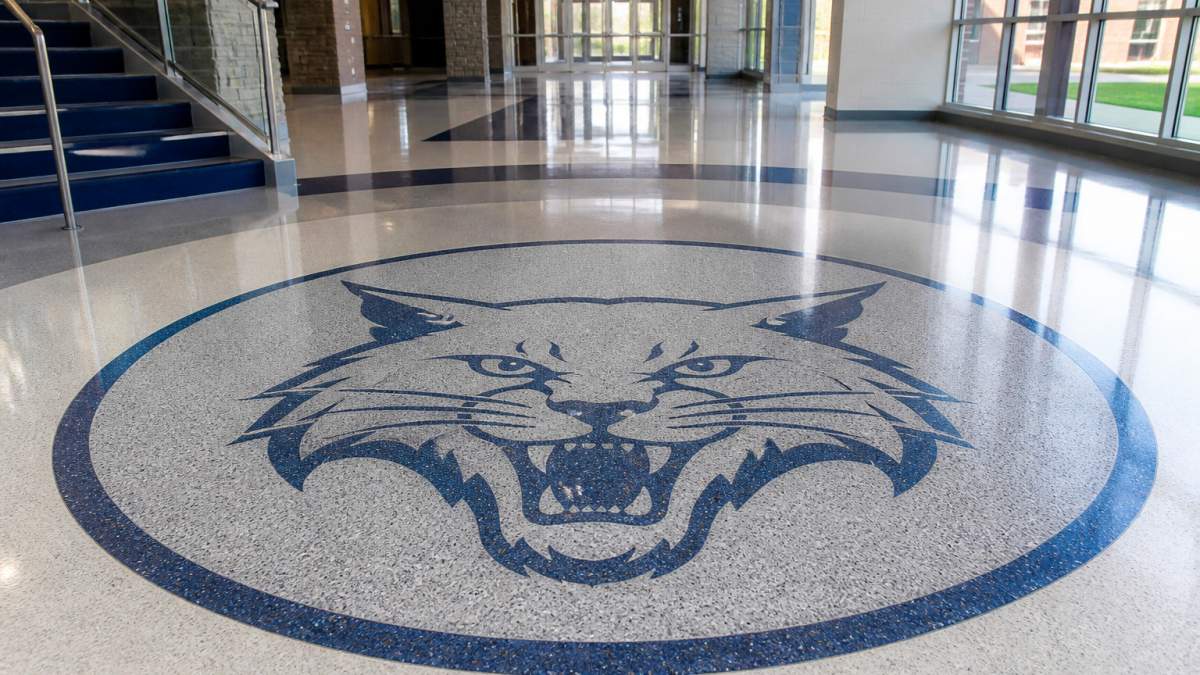
School logos terrazzo is a composite of marble chips, granite, glass, and other aggregates bound with cement or epoxy.
A1 Terrazzo offers over 35 years of specialized experience in commercial terrazzo flooring installation.
Why terrazzo works for school logos:
- Accepts vibrant colors and fine detail
- Lasts 25+ years with proper maintenance
- Resists heavy foot traffic in hallways and entryways
Terrazzo comes in two types: cementitious (poured on-site and ground smooth) and precast (manufactured off-site, then installed).
Terrazzo School Logo Design: From Concept to Approval
Turning a school logo into a terrazzo floor design requires five steps: gathering identity elements, preparing artwork, getting technical specifications, securing approval, and finalizing shop drawings.
Gathering School Identity Elements
Collect every version of your school logo: the primary logo, alternates, mascot artwork, and official school colors.
Ask your school's marketing or communications office for:
- High-resolution logo files (vector format preferred)
- Official color specifications (RGB, CMYK, or Pantone codes)
- Any secondary logos or emblems
This prevents surprises, a logo that looks good on paper may not translate to terrazzo if colors are too similar or details too fine.
Artwork Preparation and Scale Considerations
Your logo must be scaled for the floor: too small and it disappears, too large and it overwhelms the entry.
Most school logos terrazzo works best at 4 to 8 feet across. This size is visible from a distance but doesn't dominate the entire entryway.
Scale considerations:
- Entry logos: 4-8 feet wide
- Hallway inlays: 2-4 feet wide
- Classroom accents: 1-3 feet wide
Artwork prep also means simplifying complex logos: extremely thin lines or gradients may not reproduce cleanly.
Design Approval and Technical Specifications
Once artwork is approved, your fabricator creates shop drawings showing exact placement, dimensions, color zones, and cutting method.
Shop drawings define:
- Logo placement within the floor layout
- Exact dimensions and scaling
- Color assignments for each section
School Colors in Terrazzo Flooring
Your school colors are the foundation of the logo's visual impact. Matching them in terrazzo requires understanding aggregate selection and color zones.
Color Matching and Aggregate Selection
Terrazzo colors come from the aggregates, marble chips, granite, glass, and stone, mixed into the binder.
Your fabricator sources aggregates matching your school's official colors and creates sample chips so you can see the exact color before production.
Common school color combinations:
- Navy and gold (classic, high contrast)
- Forest green and white (natural, clean)
- Maroon and silver (bold, professional)
Binder color matters too: light gray makes colors pop, darker mutes them.
Creating Color Zones and Branded Color Systems
Color zones are distinct floor areas where different aggregates separate the logo from the background floor.
A typical layout might be:
- Logo zone: school colors with marble and glass aggregates
- Border zone: complementary color or neutral
- Field zone: main floor color throughout the rest of the space
This zoning creates visual hierarchy: the logo commands attention, the border frames it, and the field grounds the composition.
Terrazzo Logo Installation Process
Installation is where design becomes reality, and in a school, scheduling is the hardest constraint. The technical steps are straightforward; the challenge is doing them around students, staff, and events.
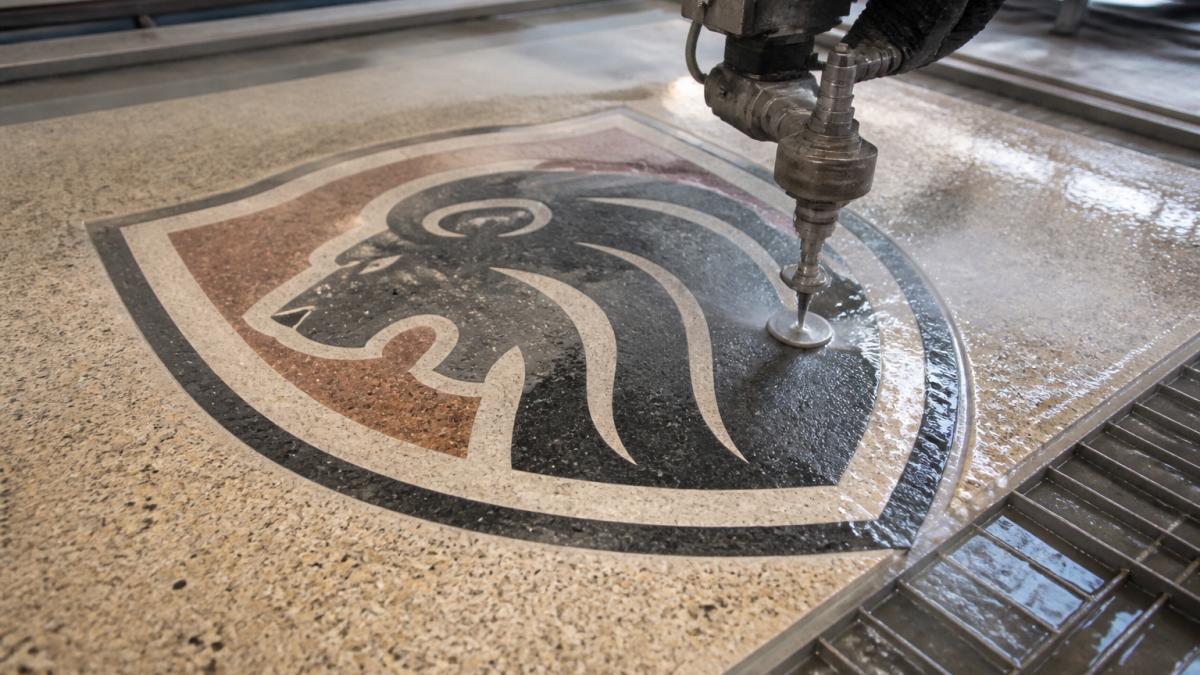
Substrate Preparation and Waterjet Cutting
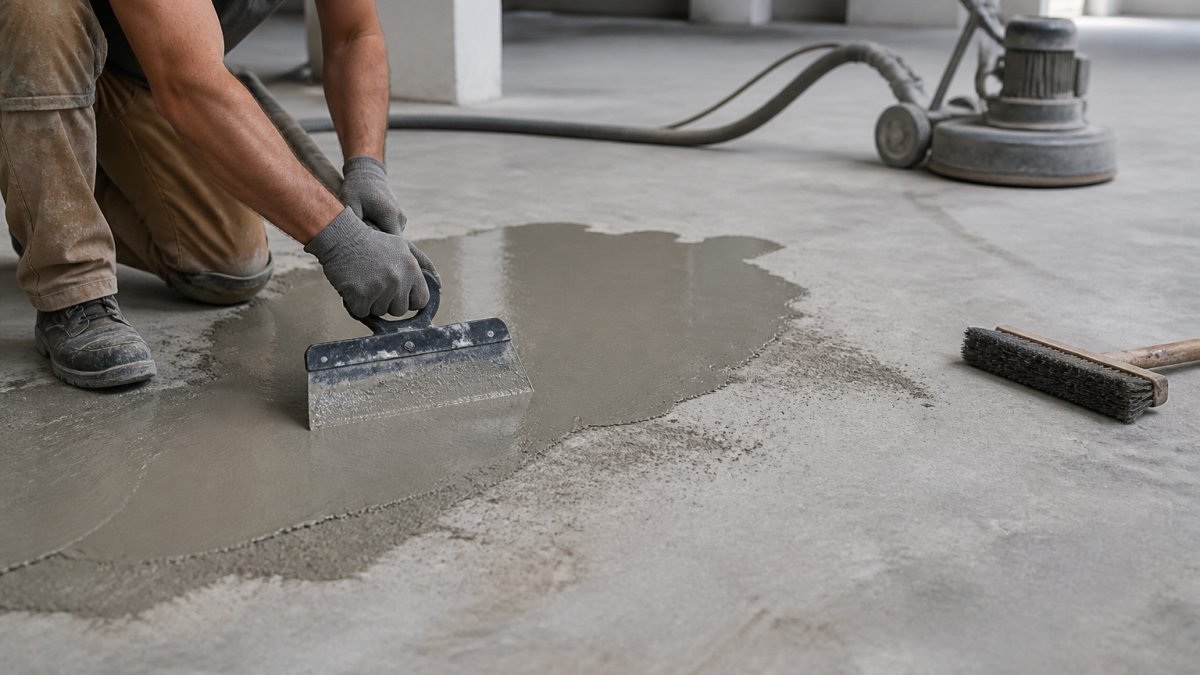
Before any terrazzo goes down, the substrate must be level, stable, and moisture-free. Moisture causes cracking and separation.
Substrate preparation includes:
- Removing old flooring
- Repairing or replacing damaged concrete
- Installing a moisture barrier if needed
Waterjet cutting happens before installation: high-pressure water and abrasive particles cut the logo shape into precast panels or define cut lines for poured installations.
Waterjet cutting is precise, handling fine lines and sharp corners without chipping aggregates, which is why detailed logos work well in terrazzo.
Logo Placement and Alignment During Installation
Placement is critical: an off-center or misaligned logo undermines the entire design.
For precast terrazzo with logos, installation teams:
- Dry-lay the panels to check fit and alignment
- Mark reference points on the substrate
- Set panels with thin-set mortar or epoxy adhesive
For poured terrazzo, the logo inlay is set into the base layer, then the floor is poured around it. Alignment requires careful templates and experienced installers.
Curing and Finishing the Floor
After installation, terrazzo must cure: cementitious takes 7-14 days, epoxy usually 48-72 hours.
During curing:
- Keep foot traffic off the floor
- Maintain stable temperature and humidity
- Avoid water exposure
Once cured, the floor is ground smooth and sealed. Grinding reveals the aggregates' full color and detail; sealing protects against stains and moisture.
The final finish, matte, satin, or high-gloss, affects how the logo reads. Matte is slip-resistant; glossy is dramatic but needs more maintenance.
Scheduling Around the School Calendar
This is the part most guides skip, and it decides whether a project succeeds. Terrazzo work is wet, dusty, and loud at different stages, and the floor can't be walked on while it cures, so map that onto the school calendar before the first panel is cut.
The work breaks into stages with very different site impacts:
- Demolition and substrate prep: loud and dusty. Best done when the building is empty.
- Pouring or panel setting: wet trade, needs a clean and protected area, and needs the space closed.
- Curing: no traffic at all. The floor must be fenced or barricaded.
The practical windows are summer break, winter break, and long holiday weekends. Summer is standard because it gives the longest uninterrupted stretch for the full sequence, including cure time.
Phasing and Access Planning
If the project covers more than one area, phase it so at least one route through the building stays open, typically one wing or entry at a time, with temporary protection over finished floors along the crew path.
Key coordination points with school operations:
- Access route: agree on the path crews use to move materials and equipment, and protect finished floors along it.
- Utility shutdowns: water and power needs for cutting, grinding, and cleanup must be scheduled with the facilities team.
- Fire and life safety: exit paths cannot be blocked, so barricades must leave a compliant route.
Protecting the Finished Logo
Once finished, the logo zone needs protection until turnover: a breathable cover taped at the edges so furniture moves, cleaning equipment, and foot traffic don't scratch or stain the new surface.
Terrazzo Flooring Cost for Schools
Most terrazzo articles stop at "costs vary", not useful when a school board needs a defensible number. The practical approach: understand what drives the price, how to phase the spend, and what the floor costs to own over its service life.
What Actually Drives the Price
Terrazzo is priced per square foot, but the logo is priced as a discrete fabrication and installation item on top of the field floor.
Field floor cost drivers:
- Total square footage, since mobilization and equipment costs spread across the area
- System type: poured cementitious, poured epoxy, or precast panels
- Aggregate selection: standard marble chips versus specialty glass, recycled, or imported aggregates
Logo cost drivers:
- Number of distinct color zones, since each zone is a separate aggregate mix, separate form or cut, and separate handling step
- Perimeter length of the logo, because waterjet cutting and edge finishing are priced by linear measure more than by area
- Minimum feature size, since details below roughly 1/4 inch force slower cutting and higher scrap rates
A useful rule of thumb: a single-color logo inlay is cheapest, a two- or three-color logo is the common middle, and a full-color mascot with gradients or fine linework is most expensive.
Phasing the Spend Across Budget Cycles
A common pattern is to split the work so the logo is funded in one cycle and the surrounding floor in another.
Options schools use:
- Single-phase: logo and field floor installed together. Lowest coordination risk, highest single-year cost.
- Logo-first: install the logo panel and a defined border zone, then extend the field floor later. Requires a clean joint line at the phase boundary.
- Field-first with reserved logo zone: pour the field floor and leave a formed opening sized to the logo panel, then set the panel in a later cycle. Requires protecting the opening and matching the field mix exactly on the second pour.
Each option trades off: splitting phases eases budget-year pressure but adds a boundary joint where color and finish mismatches most often show. Plan that joint on a natural design line, such as the edge of the border zone, not through the middle of the logo.
Lifecycle Cost, Not Just First Cost
The honest comparison is cost per year of service, not cost per square foot at bid time.
Terrazzo's advantage: the wear layer is the material itself. There's no printed or applied surface to delaminate, so the logo doesn't fade like a vinyl graphic or painted emblem. Recurring costs are maintenance, not replacement:
- Routine cleaning with pH-neutral products, done by existing custodial staff
- Periodic resealing, typically every few years depending on traffic and finish
- Occasional strip and repolish to restore gloss
Compare that to flooring replaced on a shorter cycle: replacement cost includes material, labor, closing the space, moving furniture, and redoing any branding applied to the old surface. Over a multi-decade horizon, the terrazzo logo is usually the last branding element a school has to buy.
Getting a Defensible Estimate
To get a board-ready estimate, bring the contractor four things: the vector logo file, official color specifications, the floor plan with the logo location marked, and the target installation window.
Expect an allowance for substrate conditions until the existing floor is opened up. That's normal, not a red flag, what matters is that the contractor identifies it up front and explains how it will be resolved if conditions differ.
Maintenance and Long-Term Durability
Terrazzo is durable but needs proper care to stay beautiful.
Daily maintenance:
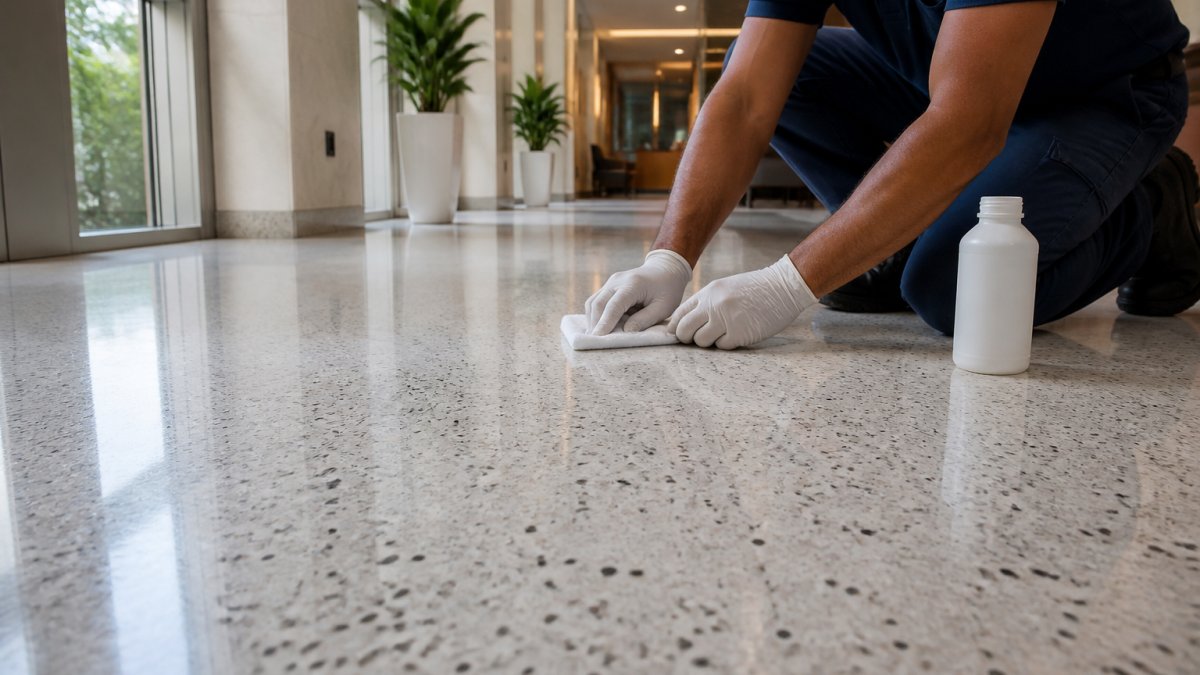
- Sweep or vacuum regularly
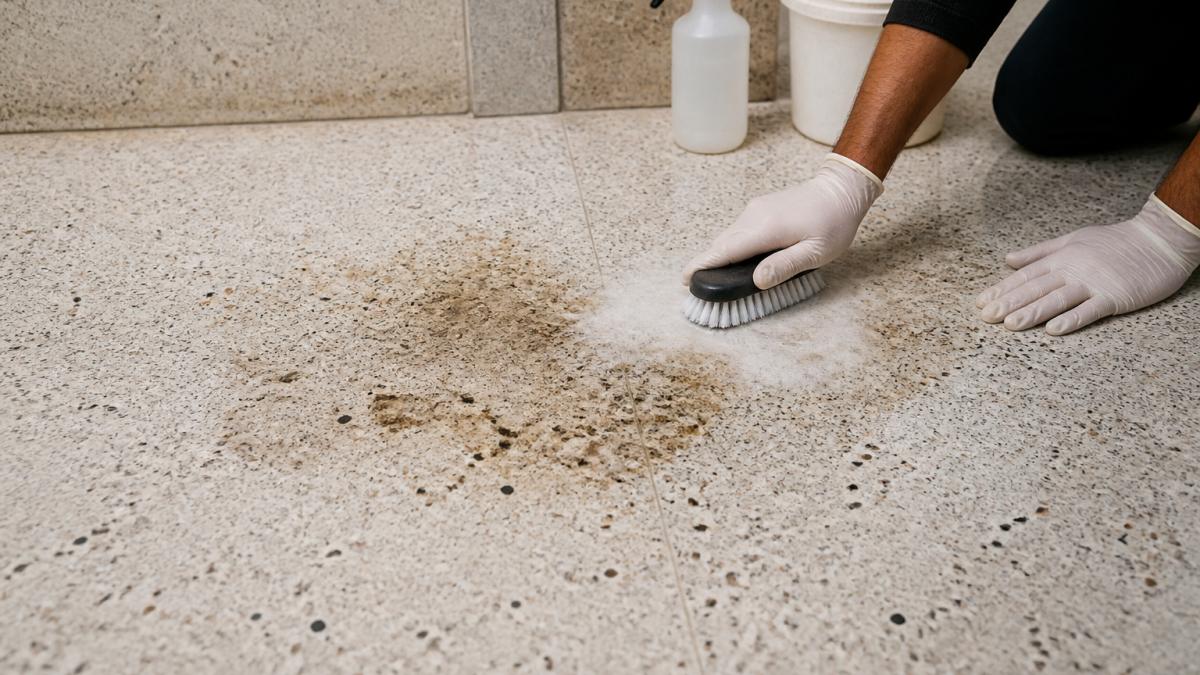
- Damp mop with pH-neutral cleaner
- Avoid acidic or abrasive cleaners
Periodic maintenance:
- Reseal every 3-5 years depending on traffic
- Strip and repolish every 5-10 years
- Repair chips or cracks promptly
The logo is protected by the sealer. Use the right cleaning products and reseal on schedule, and the colors stay vibrant and the design sharp.
A1 Terrazzo provides professional maintenance services.
Avoiding Common Installation Mistakes
Most terrazzo failures trace to substrate issues, moisture problems, or improper curing.
Mistakes that cause cracking:
- Installing over an unstable or uneven base
- Skipping moisture barriers in wet environments
- Rushing the cure time before grinding
Design mistakes:
- Logos that are too small to read from a distance
- Colors that don't match official school branding
- Designs too complex for terrazzo to reproduce cleanly
Installation mistakes:
- Misaligning the logo during placement
- Poor substrate preparation
- Inadequate waterproofing in basements or near exterior doors
The best prevention is experienced installers. A1 Terrazzo leverages over 35 years of specialized experience to deliver durable and beautiful flooring solutions.
Frequently Asked Questions
How do you incorporate a school logo into a terrazzo floor?
School logos are integrated into terrazzo through waterjet cutting and custom inlay techniques. The process begins with artwork preparation, converting your logo into digital specifications that account for scale, color matching, and line detail. During fabrication, skilled technicians use waterjet cutting to precisely shape marble chips, aggregates, and colored binders into your logo design. The logo is then positioned as a focal point in the floor layout, typically in an entry area or central gathering space. Installation requires careful substrate preparation and alignment to ensure the logo sits flush with surrounding terrazzo and maintains proper elevation for safety.
What artwork files are needed to create a terrazzo school logo?
You'll need high-resolution digital artwork files, typically vector files (AI, EPS, or PDF) rather than raster images (JPG, PNG). Vector files preserve crisp lines and edges when scaled to the size of your floor installation. Files should include clear separation of colors, outlines of all text and mascot elements, and specifications for any gradients or shading. Your terrazzo fabricator will convert these into shop drawings that show exact dimensions, color zones, and material specifications. Provide your school's official brand guidelines if available, including approved logo variations, color codes (RGB or Pantone), and any restrictions on logo modification.
How are school colors matched in a terrazzo floor?
Color matching in terrazzo school logo flooring starts with selecting aggregates, marble chips, granite, and other materials, that closely replicate your school's branded colors. Fabricators work with color samples and Pantone references to identify aggregate combinations that match your palette. The binder (cementitious or epoxy) also influences final color appearance. During the design development phase, sample chips are created and approved before full fabrication begins. Keep in mind that terrazzo colors can shift slightly after curing and polishing, so samples should be viewed in the actual lighting conditions of your school's floor space to ensure accuracy.
What's the actual cost difference between proper installation now versus dealing with repairs later from moisture or substrate issues?
Proper substrate preparation during initial installation prevents costly moisture-related failures, cracking, and premature deterioration. Poor substrate work, inadequate moisture barriers, improper concrete curing, or skipped preparation steps, often leads to repairs within 1-3 years that exceed the cost of doing the job correctly initially. Schools that invest in quality installation with verified substrate preparation, appropriate binder selection (epoxy for high-moisture areas), and professional craftsmanship typically avoid major repairs for 20+ years. Contact A1 Terrazzo for a detailed quote.
Incorporating school logos into custom terrazzo floor designs creates a lasting symbol of school identity. The process requires careful planning, skilled fabrication, and professional installation. A1 Terrazzo brings 35 years of experience to every project, ensuring your school logo is fabricated with precision, installed correctly, and sealed to last decades. Contact A1 Terrazzo today to discuss your school's custom terrazzo logo design and get a detailed estimate for your project.