 how-to
Terrazzo Installation Timeline for Campus Renovations
Table of Contents
- Understanding the Terrazzo Installation Timeline for Campus Projects
- Terrazzo Floor Preparation: The Foundation of Your Schedule
- The Terrazzo Flooring Installation Process Step by Step
- Terrazzo Floor Installation Time: Duration by Project Phase
- Phased Flooring Installation: Keeping Your Campus Operational
- Schedule Variables and Contingency Planning
- Return-to-Service Criteria and Floor Readiness
- Frequently Asked Questions
Last Updated: October 10, 2026
Understanding the Terrazzo Installation Timeline for Campus Projects
Planning a terrazzo installation timeline for campus renovations requires understanding how each phase connects and affects the next.
A1 Terrazzo offers expert commercial terrazzo flooring installation and professional maintenance services across Florida, leveraging over 35 years of specialized experience to deliver durable and beautiful flooring solutions.
This guide walks you through each phase of the terrazzo flooring installation process, shows you realistic duration estimates for each step, and explains how to keep your campus operational while work happens.
Terrazzo Floor Preparation: The Foundation of Your Schedule
Substrate preparation is where your timeline either stays on track or falls apart. Most contractors underestimate this phase. It's not glamorous work, but it determines whether your terrazzo lasts 30 years or develops cracks within two.
Substrate Inspection and Assessment
Before any work begins, inspect the existing concrete substrate thoroughly. This step typically takes 3 to 5 days for a standard building floor or 1 to 2 weeks for a large campus area.
During inspection, you're looking for:
- Cracks, spalling, or delamination in the concrete
- Moisture issues (efflorescence, wet spots, rising damp)
- Uneven surfaces and low spots that need leveling
- Existing coatings or sealers that need removal
- Structural integrity problems that require repair before installation
The inspection determines what happens next. If the substrate is in good condition, you move forward quickly.
Moisture testing is recommended before any terrazzo flooring installation timeline decision. Calcium chloride or relative humidity testing can measure moisture levels.
Concrete Repair and Leveling
Once inspection is complete, repair work begins. This phase typically takes 1 to 2 weeks depending on damage severity.
Concrete repair includes:
- Filling cracks with epoxy or concrete repair compound
- Patching spalled or damaged areas
- Removing loose concrete or old coatings
- Addressing moisture issues with vapor barriers or moisture mitigation systems
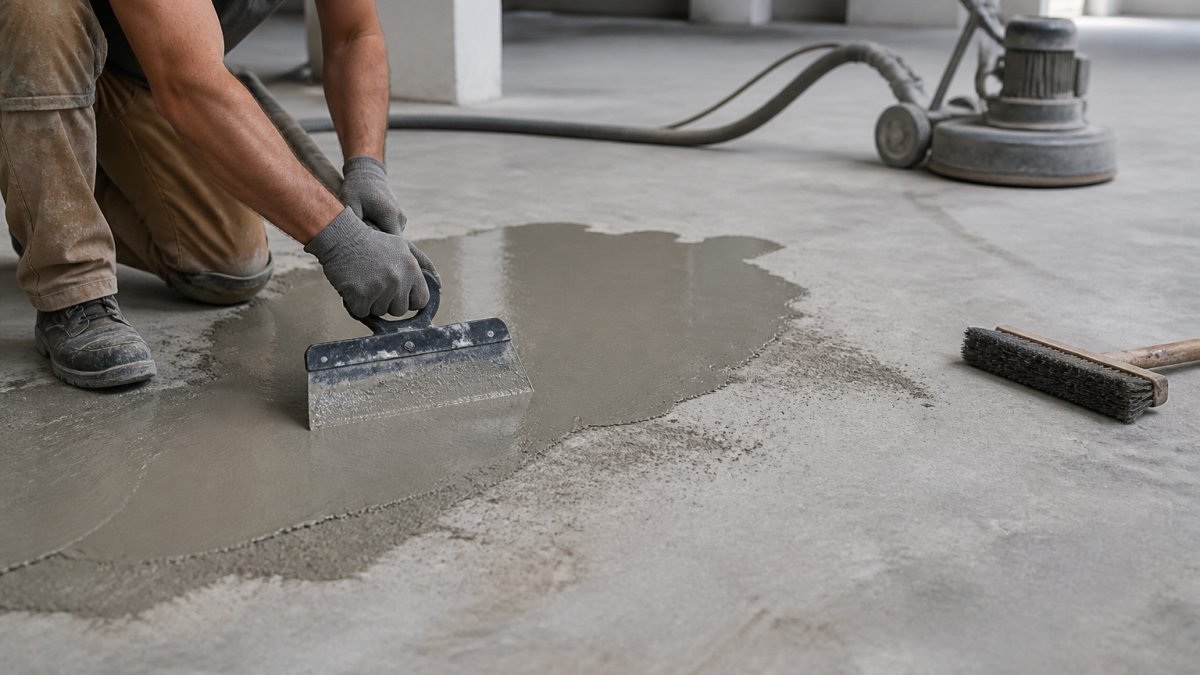
Leveling the concrete floor comes next. Campus buildings often have uneven slabs from settling or previous repairs. Leveling ensures your finished terrazzo surface is flat and prevents water pooling.
Leveling methods include:
- Self-leveling concrete overlays for minor variations
- Grinding down high spots for moderate unevenness
- Full resurfacing for severely damaged floors
Self-leveling overlays take 3 to 7 days to cure. Grinding takes 2 to 5 days depending on floor size.
Surface Preparation Methods
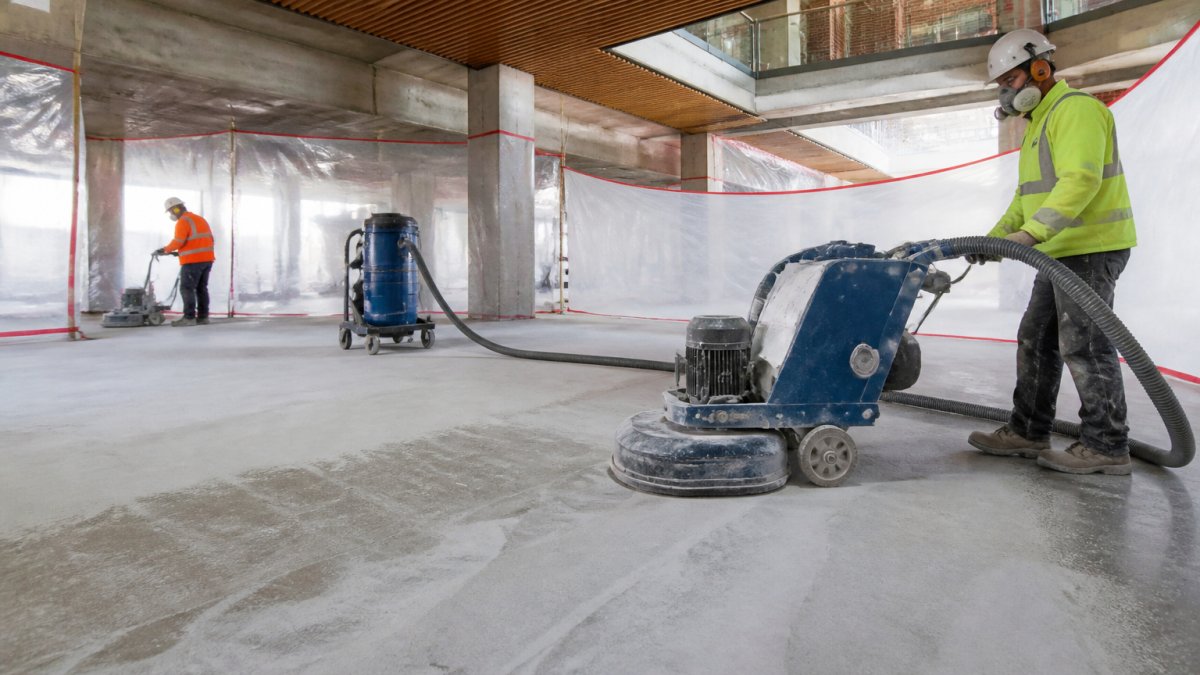
Surface preparation removes contaminants and opens the concrete pores so the terrazzo matrix bonds properly. This phase takes 3 to 7 days for most campus floors.
Shot blasting is the most effective surface preparation method for terrazzo flooring installation process success.
Shot blasting takes 2 to 4 days depending on floor area and existing coating thickness.
Alternative surface preparation methods include:
- Grinding with diamond pads (slower, dustier, less effective)
- Chemical stripping (slow, hazardous, less common)
- Scarifying (mechanical removal, effective but loud)
After shot blasting, the floor must be thoroughly cleaned and dried. Dust removal takes 1 to 2 days.
The Terrazzo Flooring Installation Process Step by Step
The actual terrazzo flooring installation process involves several sequential steps. Each step must be completed before the next begins, so delays cascade through the schedule.
Layout and Divider Strip Installation
Layout and divider strip installation typically takes 2 to 3 days for a standard building floor.
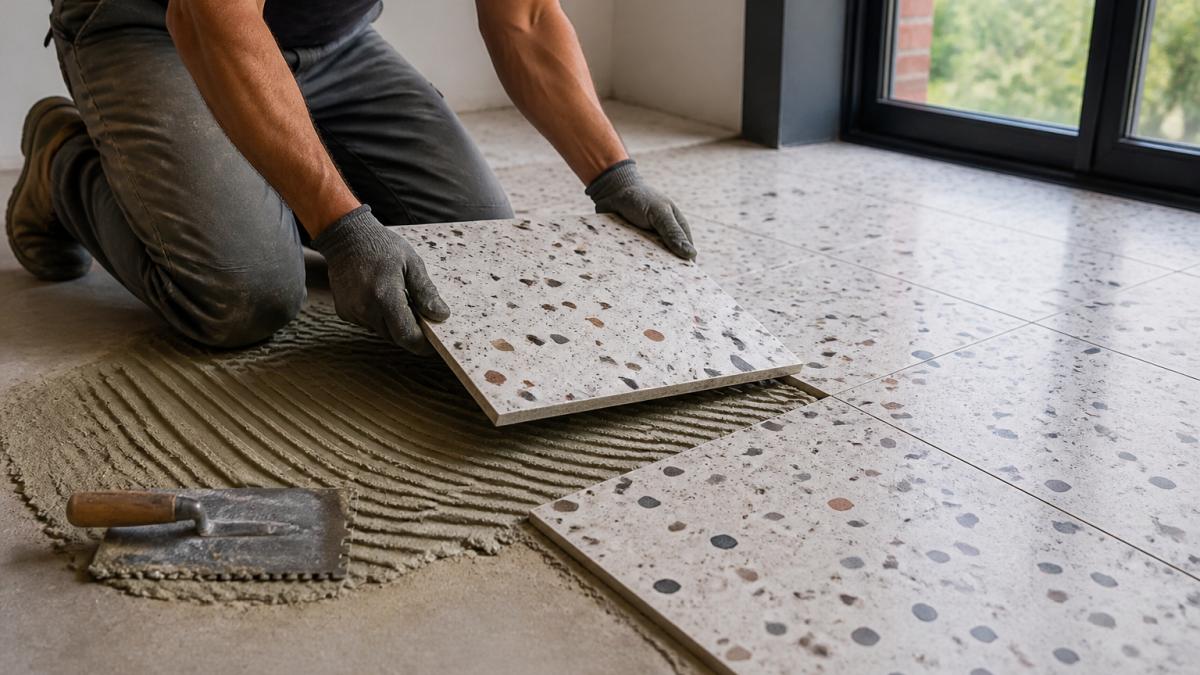
Divider strips are metal or plastic strips set into the concrete substrate to create sections in the terrazzo floor.
Divider strip installation includes:
- Marking layout lines based on floor plan and design
- Setting strips at proper height (flush with finished terrazzo surface)
- Securing strips so they stay in place during pouring
- Checking alignment and levelness
For large campus floors, divider strips must be coordinated with building layout, column locations, and traffic patterns. Strips typically run 8 to 12 feet apart, creating manageable sections.
Mixing and Placing the Terrazzo Matrix
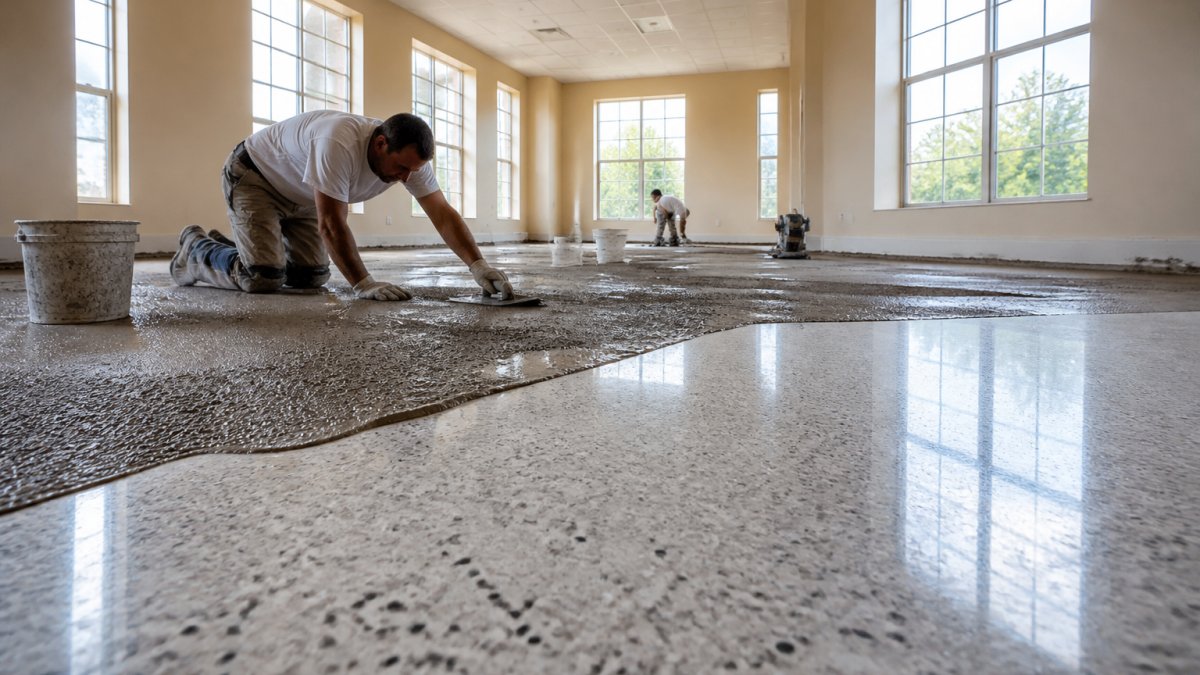
Mixing and placing the terrazzo matrix is the most time-sensitive phase. Once mixed, the matrix begins to set, so timing is critical.
The terrazzo matrix combines cement, aggregate (marble chips, granite, or glass), water, and additives. The mixture is poured onto the prepared substrate and spread to the proper thickness. Epoxy terrazzo systems cure faster than traditional cement-based systems, which affects your overall timeline.
Placement typically takes 1 to 2 days for a standard floor, depending on:
- Floor area (larger floors take longer)
- Complexity of design (intricate patterns require more precision)
- Temperature and humidity (affect curing speed)
- System type (epoxy vs. cement-based)
Grinding, Polishing, and Sealing
Grinding and polishing expose the aggregate and create the finished appearance. This phase typically takes 3 to 5 days for a standard floor.
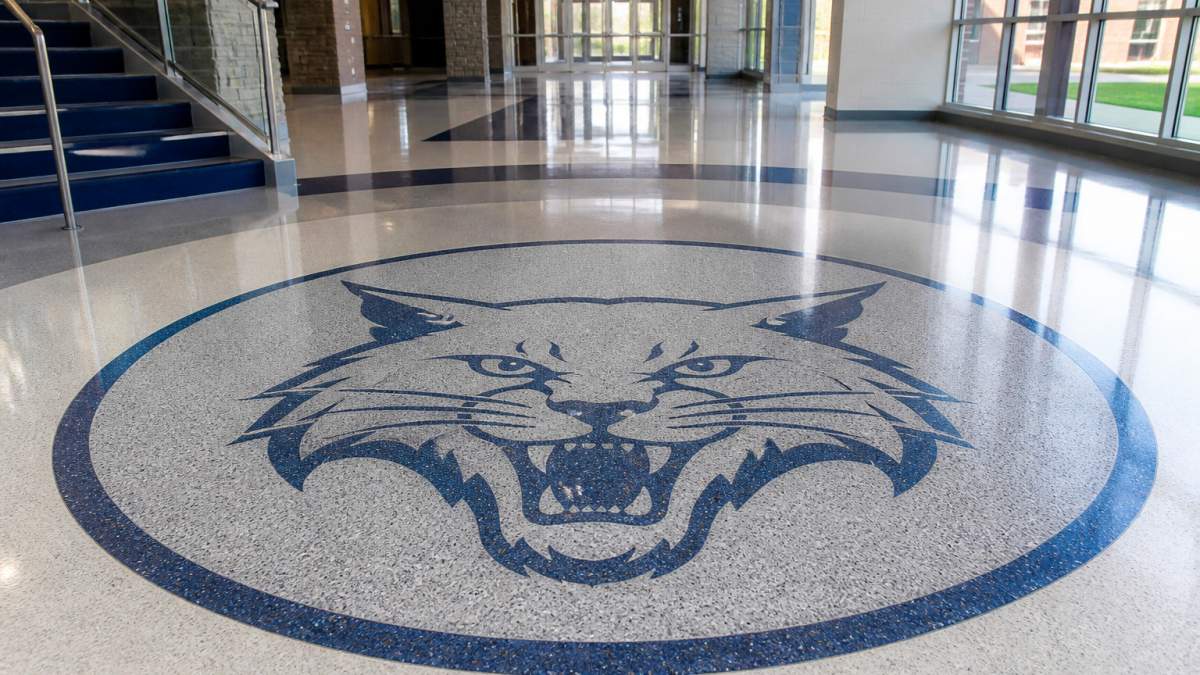
The process uses progressively finer diamond pads to grind the terrazzo surface smooth and then polish it to the desired sheen.
Grinding and polishing includes:
- Initial grinding with coarse diamond pads
- Progressive refinement with medium and fine pads
- Polishing to achieve desired finish (matte, satin, or high-gloss)
- Cleaning and dust removal between passes
After grinding and polishing, sealer is applied to protect the terrazzo and enhance appearance. Sealer application takes 1 day, with 24 to 48 hours curing time before the floor can handle foot traffic.
Terrazzo Floor Installation Time: Duration by Project Phase
Understanding how long each phase takes helps you build a realistic project schedule and plan campus operations around the work.
Preparation Phase Duration
Substrate preparation is the longest and most variable phase. For most campus projects, expect 2 to 4 weeks total.
This includes:
- Inspection: 3 to 5 days
- Concrete repair and leveling: 7 to 14 days
- Surface preparation (shot blasting and cleaning): 3 to 7 days
- Drying time: 2 to 3 days
If moisture issues are found, add 5 to 10 days for moisture mitigation. If structural repairs are needed, add 1 to 3 weeks.
The preparation phase determines your overall terrazzo floor installation time more than any other factor. Rushing this phase leads to premature failure, so budget time generously.
Installation Phase Duration
The actual terrazzo flooring installation process takes 1 to 2 weeks for most campus floors.
This includes:
- Layout and divider strip installation: 2 to 3 days
- Mixing and placing matrix: 1 to 2 days
- Initial curing: 3 to 7 days (varies by system)
- Grinding and polishing: 3 to 5 days
- Sealing: 1 day plus curing time
Epoxy terrazzo systems cure faster than cement-based systems, reducing installation phase duration by 2 to 3 days.
Curing and Finishing Timeline
Curing time is the most misunderstood part of the terrazzo installation timeline. The floor must cure fully before returning to service.
Traditional cement-based terrazzo requires 28 days full cure, though it can handle light foot traffic after 7 days. Epoxy terrazzo cures in 24 to 72 hours, allowing faster return to service.
Curing timeline includes:
- Initial set: 24 to 72 hours (epoxy) or 3 to 7 days (cement)
- Full cure: 7 days (light traffic, epoxy) or 28 days (full strength, cement)
- Sealer cure: 24 to 48 hours before foot traffic
For campus projects, plan for 2 to 4 weeks total curing time if using traditional systems, or 1 to 2 weeks if using epoxy.
Phased Flooring Installation: Keeping Your Campus Operational
The biggest challenge in campus renovations is keeping buildings operational while work happens. Phasing the terrazzo flooring installation process allows you to complete sections while maintaining access to other areas.
Sectioning Your Campus for Staged Work
Divide your campus into sections based on building layout and operational needs. Each section should be large enough to justify setup and mobilization costs, but small enough to complete within 4 to 6 weeks.
Typical section sizes:
- Single building floor: 8,000 to 15,000 square feet
- Multi-room area: 5,000 to 10,000 square feet
- Hallway and adjacent spaces: 3,000 to 8,000 square feet
For each section, plan a phased terrazzo installation timeline:
- Week 1-2: Preparation (inspection, repair, surface prep)
- Week 3: Installation (layout, pouring, initial curing)
- Week 4-5: Grinding, polishing, sealing
- Week 6+: Full cure and return to service
Stagger sections so that while one area is curing, another is in preparation or installation. This maintains continuous progress and keeps campus disruption manageable.
Coordinating with Campus Operations and Other Trades
Campus renovations involve coordination with many parties. Timing terrazzo work around classes, events, and other trades prevents delays and cost overruns.
Coordinate with:
- Academic calendars (avoid heavy renovation during semester)
- Building occupants (schedule work during breaks when possible)
- Other contractors (HVAC, electrical, plumbing finishing)
- Facilities staff (maintenance, cleaning, security)
Working with campus facilities teams helps identify optimal windows for work. Summer breaks are ideal for large projects. Semester breaks work for smaller sections.
Create a master schedule showing:
- When each section starts and finishes
- When campus areas close and reopen
- Coordination points with other trades
- Key milestones and decision dates
This prevents conflicts and keeps your terrazzo flooring installation timeline on track.
Schedule Variables and Contingency Planning
Real projects never follow the plan exactly. Build contingency into your schedule for common delays.
Variables that affect terrazzo installation timeline:
- Weather: Cold, wet weather slows curing. Budget extra time in winter months.
- Substrate condition: Unexpected damage adds 1 to 3 weeks. Thorough inspection reduces this risk.
- Moisture issues: Rising damp or high humidity can delay installation by 2 to 4 weeks.
- Material delays: Aggregate or epoxy resin shortages add 1 to 2 weeks.
- Labor availability: Skilled terrazzo installers are in demand. Schedule early to secure crews.
- Design changes: Changes mid-project add 1 to 2 weeks minimum. Proactive coordination of these variables remains essential for managing project timelines effectively across all phases of campus construction.
Build contingency into your schedule:
- Add 10-15% to your total timeline for unexpected issues
- Identify critical path items (substrate prep, curing time) that cannot be shortened
- Plan parallel work where possible to maintain progress
For a typical 12-week campus project, budget 13-14 weeks to account for contingency.
Return-to-Service Criteria and Floor Readiness
The floor is ready for full service when it meets specific criteria. Don't rush this step, premature return to service causes damage.
Return-to-service criteria include:
- Full cure time met (7 days minimum for epoxy, 28 days for cement)
- Sealer fully cured (24-48 hours minimum)
- Surface hardness verified (scratch resistance test)
- Moisture levels normal (no efflorescence or wet spots)
- Cleaning completed and floor inspected
Before returning a floor to service:
- Walk the entire surface checking for soft spots or movement
- Inspect seams and divider strips for gaps or lifting
- Verify color and finish match specifications
- Document completion with photos and testing results
Detailed handoff documentation showing cure dates, sealer application, and final inspection results can protect your warranty and provide clear evidence the floor is ready.
Frequently Asked Questions
How long does terrazzo flooring installation take in a campus renovation?
Total project duration typically ranges from 4 to 12 weeks depending on square footage, substrate condition, and phasing strategy. Preparation alone takes 1 to 3 weeks; installation takes 2 to 4 weeks; curing and finishing add 1 to 5 weeks. Campus renovations that phase work around classes and operations may extend the timeline by 2 to 4 weeks to maintain access to buildings and minimize disruption.
Can terrazzo flooring be installed in phases while a campus remains open?
Yes. Phased terrazzo flooring installation allows you to section the campus into zones, completing one area while others remain operational. Each phase typically takes 4 to 6 weeks. Coordinate with facilities and academic scheduling to avoid high-traffic periods. Plan buffer time between phases for overlap and to address substrate surprises discovered during preparation.
What factors can delay a terrazzo flooring project?
Substrate condition is the primary variable. Unexpected concrete damage, moisture issues, or uneven surfaces discovered during inspection can add 1 to 3 weeks to preparation. Weather impacts curing times. Coordination delays with other trades, campus scheduling conflicts, and material delivery can each add 1 to 2 weeks. Always budget 10 to 15 percent contingency time for campus-scale projects.
What are the main steps involved in installing a terrazzo floor?
Installation follows this sequence: substrate inspection and repair, surface preparation (shot blasting or grinding), layout and divider strip installation, mixing and placing the terrazzo matrix, initial curing (24 hours to 7 days), grinding and polishing, sealing, and final curing. Each step is time-sensitive. Proper execution of early phases directly reduces delays in later stages and ensures floor durability and appearance.
Planning your terrazzo flooring installation timeline requires balancing speed with quality. Rushing substrate preparation or curing time creates expensive problems later. A1 Terrazzo brings 35 years of experience managing campus renovations that stay on schedule and deliver lasting results. Contact us to discuss your project timeline and learn how we phase work to keep your campus operational while creating beautiful, durable terrazzo floors that serve your institution for decades.