 how-to
Is Terrazzo Tile Difficult to Install? A Step-by-Step Guide
Table of Contents
- Terrazzo Tile vs. Poured Terrazzo: Installation Differences
- Difficulty Level: What Determines Installation Complexity
- Terrazzo Tile Subfloor Preparation: The Foundation of Success
- Step-by-Step Terrazzo Tile Installation Process
- Terrazzo Tile Installation Tools and Materials You'll Need
- Terrazzo Tile Installation Time: What to Expect
- Terrazzo Tile Installation Cost: Budget and Labor Considerations
- Common Installation Mistakes and How to Prevent Them
- Frequently Asked Questions
Last Updated: October 8, 2026
Terrazzo Tile vs. Poured Terrazzo: Installation Differences
Poured terrazzo is mixed on-site and spread across the floor like concrete. It cures as one solid mass.
Here's the critical difference: poured terrazzo lets you control the finish on-site through grinding and polishing.
At A1 Terrazzo, we've handled both systems across commercial spaces in Florida.
For DIY work or small commercial projects, terrazzo tile installation is the realistic choice.
Difficulty Level: What Determines Installation Complexity
Is terrazzo tile difficult to install? The honest answer depends on three factors: your experience level, the project size, and the substrate condition.
Experience Level Requirements
Beginner DIYers can install terrazzo tile successfully on small projects. You don't need masonry experience, but you do need patience and attention to detail.
Essential skills you need:
- Ability to read a level and maintain straight lines
- Comfort mixing adhesive to the right consistency
- Willingness to follow manufacturer instructions precisely
- Basic tile-cutting capability with a wet saw
Intermediate installers (those who've done ceramic or stone tile) will find terrazzo tile familiar. The setting technique is nearly identical.
Professional contractors bring speed and problem-solving. They catch substrate issues before they become costly. They know when conditions demand extra prep steps. They can cut complex shapes and handle unusual layouts.
Project Size and Scope
Small projects (under 500 square feet) are manageable for confident DIYers. Think a bathroom floor or a retail alcove.
Medium projects (500-2,000 square feet) require either significant DIY experience or professional help. This is where substrate problems surface. Temperature swings and moisture issues become real concerns. You need equipment you might not own.
Large commercial installations (2,000+ square feet) demand professional contractors. Hospitals, airports, and universities need reliability and speed.
Terrazzo Tile Subfloor Preparation: The Foundation of Success
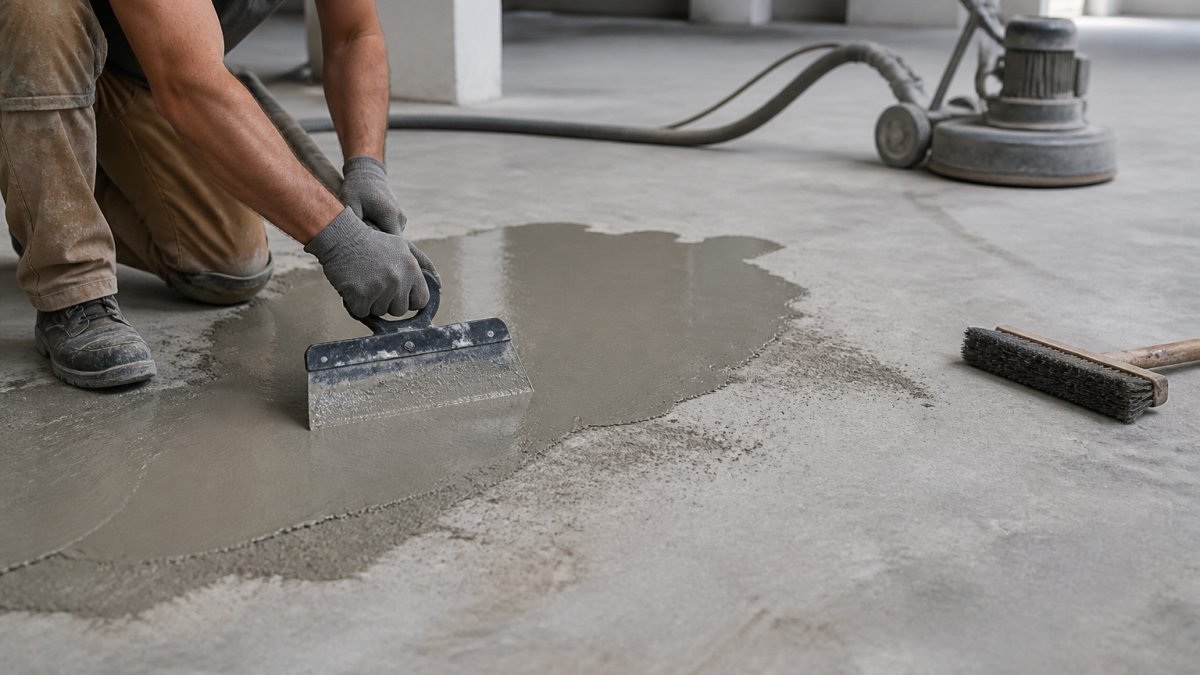
Most terrazzo tile installation failures start with the substrate. You can have perfect tiles and perfect technique, but a compromised subfloor will crack and fail within months.
Assessing Substrate Suitability
Before any tile goes down, inspect the existing floor. Terrazzo tile needs a stable, level surface. Concrete is ideal. Wood subfloors work but demand extra reinforcement and moisture barriers.
Check for these red flags:
- Cracks wider than 1/8 inch
- Soft or crumbling concrete
- Visible water stains or dampness
- Unevenness greater than 1/4 inch over 10 feet
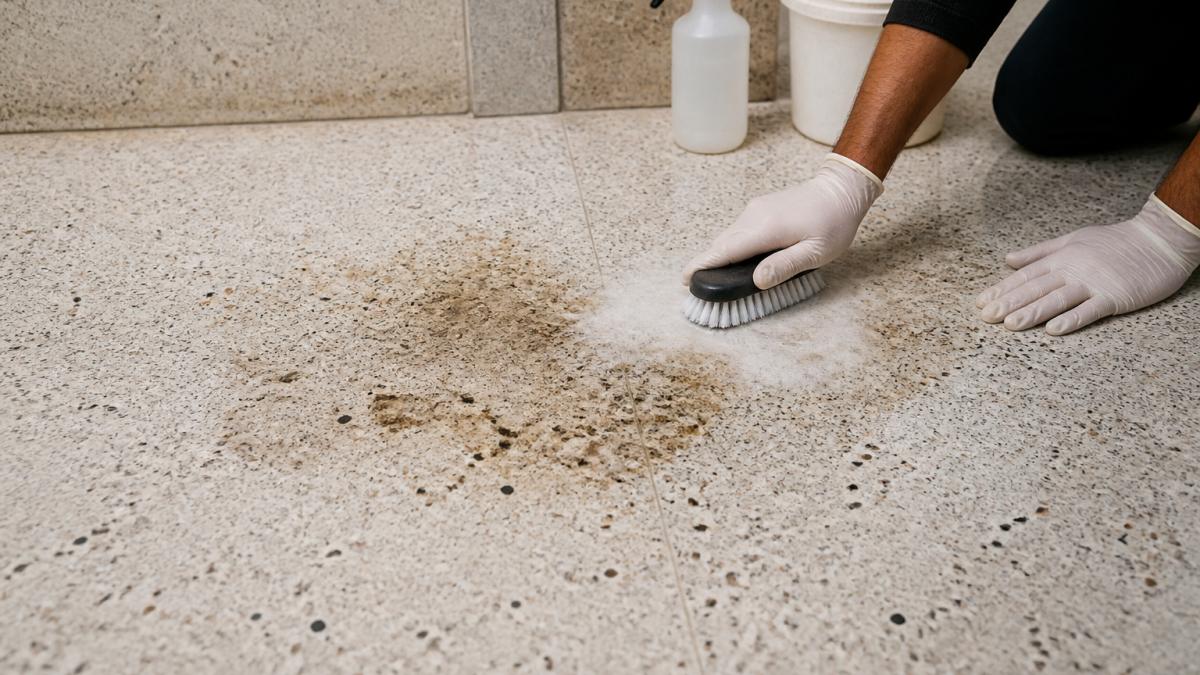
- Existing tile or adhesive residue
If you find cracks, repair them with concrete patching compound. Sand the area smooth. For soft spots, the substrate needs replacement or reinforcement before you proceed.
Unevenness matters because terrazzo tile is rigid. If your subfloor waves, your grout lines will be uneven and tiles may rock.
Moisture Control and Moisture Barriers
Moisture is the silent killer of terrazzo tile installations. Water rising from below will break the adhesive bond and crack the tile. In Florida's climate, this risk is high.
Test the substrate for moisture before starting:
- Use a calcium chloride or relative humidity test kit
- Follow the manufacturer's specifications for acceptable moisture levels
- Never skip this step, even if the floor looks dry
If moisture levels are elevated, install a moisture barrier. Options include:
- Epoxy-based moisture barriers (most common for terrazzo)
- Polyethylene sheeting (budget option, less effective)
- Moisture-resistant underlayment products
The barrier seals the concrete and prevents water vapor from reaching the adhesive. This is especially critical in bathrooms, kitchens, and ground-floor installations.
Step-by-Step Terrazzo Tile Installation Process
Step 1: Layout and Planning
Start by finding the center point of your room. Snap chalk lines to divide the floor into quadrants.
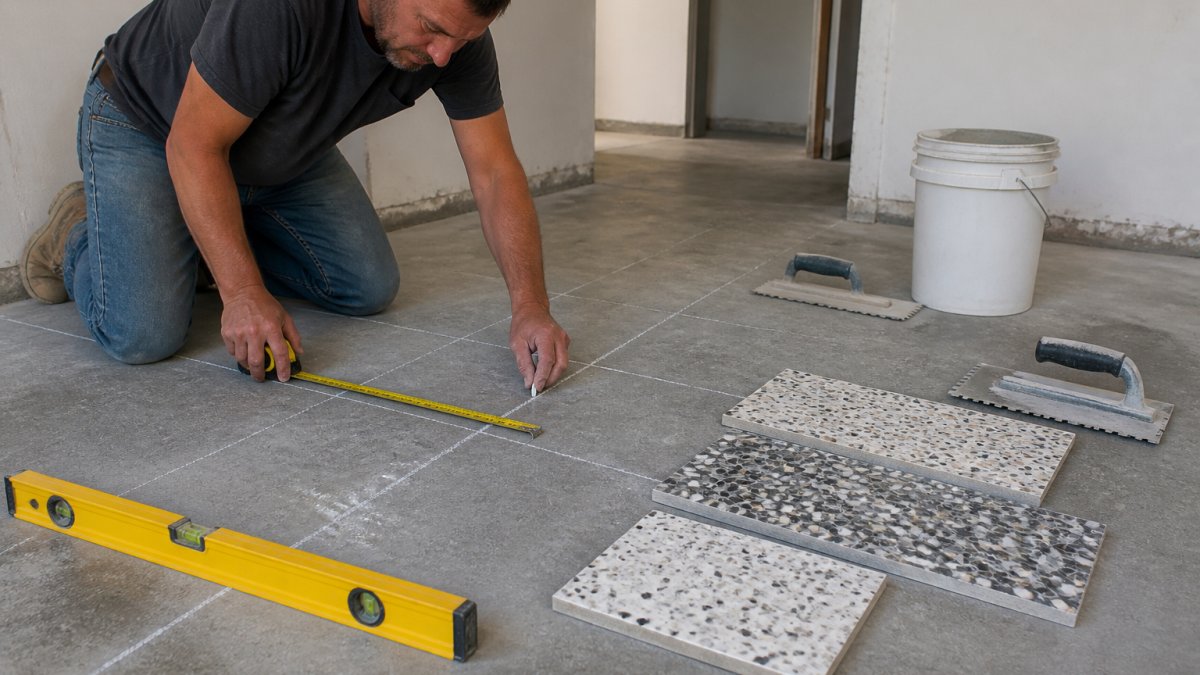
Dry-lay your first few rows. Place tiles without adhesive to check spacing and see how cuts will work at the edges. Adjust your layout if needed.
Mark reference lines on the substrate with chalk. These guide your adhesive application and keep rows straight. Take time here, poor layout creates compounding errors.
Step 2: Applying Tile Adhesive and Setting
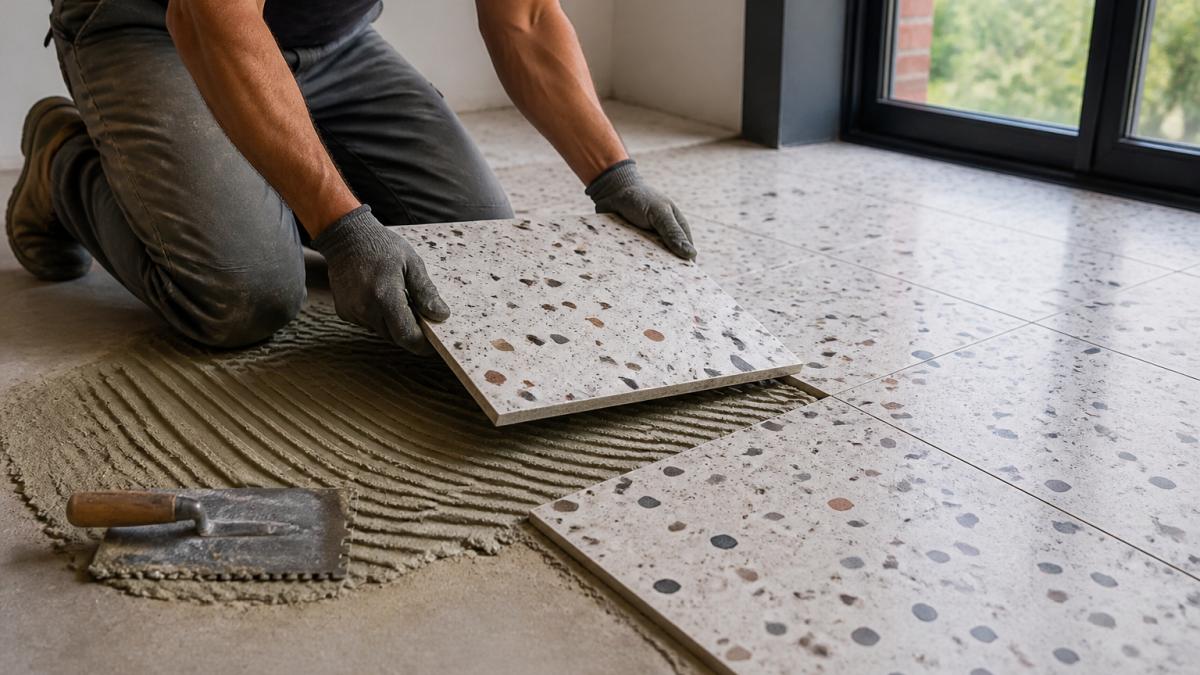
Use a polymer-modified thin-set mortar rated for terrazzo tile. Mix it to a peanut butter consistency, thick enough to hold ridges but spreadable.
Apply adhesive using a notched trowel. The notch size depends on your tile size. For standard terrazzo tiles, a 1/4-inch notch works.
Press each tile firmly into the adhesive. Twist it slightly as you set it. This fills voids and ensures full contact.
Check frequently with a level. Terrazzo tile is heavy and unforgiving.
Step 3: Cutting and Handling Terrazzo Tiles
Terrazzo tile is denser than ceramic. You need a wet saw with a diamond blade. A standard tile cutter won't work.
Measure twice before cutting. Mark your cut line clearly. Support the tile firmly against the saw's fence.
Wear safety glasses and a dust mask. The dust from cutting is fine and irritating.
Terrazzo tile is heavy. Expect each tile to weigh 5-15 pounds depending on size. Plan your lifting and carrying to avoid injury.
Step 4: Grouting and Finishing
Allow the adhesive to cure per manufacturer instructions, typically 24 hours. Don't walk on the floor or apply grout too early.
Mix grout to a smooth, peanut butter consistency. Use a rubber grout float held at a 45-degree angle.
After 15-20 minutes, the grout begins to set. Use a damp sponge to clean excess grout from the tile surface. Rinse the sponge frequently.
Allow grout to cure fully, typically 72 hours, before sealing.
Step 5: Polishing and Sealing
Terrazzo tile comes pre-polished, so you're not grinding it smooth. Your job is protection and maintenance prep.
After grout cures, apply a terrazzo-specific sealer. This protects against stains and moisture. Follow the product instructions for application and drying time.
Some installers apply a thin polish after sealing to enhance the shine. This is optional but recommended for high-traffic commercial spaces.
Terrazzo Tile Installation Tools and Materials You'll Need
Essential Tools for DIY Installation
A basic terrazzo tile installation requires these tools:
- Wet saw with diamond blade
- Notched trowel (1/4-inch notch typical)
- Rubber grout float
- Grout sponges (multiple)
- Chalk line and chalk
- Measuring tape (25-foot minimum)
- Level (4-foot preferred for checking larger areas)
- Spacers (1/8 or 1/4 inch)
- Mixing bucket and paddle mixer
- Margin trowel (for detail work)
- Tile nippers for small cuts
Materials include:
- Terrazzo tiles (order 10% extra for breakage and cuts)
- Polymer-modified thin-set mortar
- Grout (unsanded for narrow joints, sanded for wider joints)
- Moisture barrier if needed
- Terrazzo sealer
- Concrete patching compound for repairs
Safety Equipment and Requirements
Protect yourself during installation:
- Safety glasses (mandatory when cutting)
- Dust mask or respirator (when cutting tiles)
- Work gloves (terrazzo edges are sharp)
- Steel-toed boots (tiles are heavy and drop hazards)
- Knee pads (you'll spend time on the floor)
Ensure proper ventilation if working indoors. Adhesive and grout fumes accumulate in enclosed spaces. Open windows and use fans.
Have a first aid kit on hand. Cuts from tile edges are common. Know where your nearest urgent care is located.
Terrazzo Tile Installation Time: What to Expect
Timeline by Project Size
Small projects (under 500 square feet) typically take 3-5 days for a DIYer:
- Day 1: Substrate prep and moisture testing
- Day 2: Layout and adhesive application
- Day 3-4: Tile setting and grouting
- Day 5: Sealing and final cleanup
Medium projects (500-2,000 square feet) require 1-2 weeks:
- Days 1-2: Substrate prep
- Days 3-7: Tile installation (depending on complexity)
- Days 8-9: Grouting
- Day 10-14: Curing and sealing
Large commercial installations need professional contractors. A 5,000-square-foot hospital floor might take 2-3 weeks with a crew of 3-4 installers.
Curing and Hardening Periods
Adhesive cures in 24 hours under normal conditions. Don't walk on the floor or apply grout before this time.
Grout needs 72 hours to fully cure before sealing. Temperature and humidity affect this timeline. Cold, damp conditions slow curing.
Sealer typically dries in 24-48 hours. The floor is usable after sealer dries, but wait at least one week before heavy traffic.
Total project timeline from start to full use:
- Small DIY project: 2-3 weeks
- Medium project: 3-4 weeks
- Large commercial project: 4-6 weeks
Terrazzo Tile Installation Cost: Budget and Labor Considerations
Material Costs and Pricing Factors
Terrazzo tile itself ranges widely in price depending on quality, size, and finish. Budget for tiles, adhesive, grout, sealer, and any substrate prep materials.
For exact pricing on your specific project, contact A1 Terrazzo for a detailed quote. Material costs depend on square footage, tile type, and any special finishes or patterns.
DIY projects save labor costs but require tool rental if you don't own equipment. A wet saw rental runs roughly $40-60 per day.
Labor and Professional Installation
Professional installation costs vary by project complexity, location, and contractor experience. A contractor handles substrate issues, ensures proper moisture barriers, and guarantees workmanship.
Professional installers work faster than DIYers. They complete projects on schedule and handle problems that arise. They carry insurance and warranties.
For commercial spaces, hospitals, airports, universities, professional installation is essential. The cost of failure (moisture damage, cracking, safety hazards) far exceeds professional installation fees.
Common Installation Mistakes and How to Prevent Them
Substrate and Moisture Failures
The most common mistake is skipping moisture testing. Installers assume a dry-looking floor is moisture-free. It isn't.
Prevent this by testing moisture levels before starting. Use a calcium chloride test kit. If levels are high, install a moisture barrier.
Another mistake is installing over cracked or uneven concrete. Small cracks grow. Uneven surfaces cause rocking tiles and cracked grout.
Repair the substrate first. Patch cracks, level high spots, and fill low areas. This foundation work determines success.
Improper Tile Setting and Grouting
Thin-set mortar mixed too thin or too thick causes problems. Thin adhesive doesn't hold tiles. Thick adhesive creates voids underneath.
Mix to a peanut butter consistency. It should spread smoothly but hold ridges from the trowel.
Many installers apply adhesive and forget to comb it. You must use a notched trowel to create uniform ridges.
Another error: walking on tiles before adhesive cures. The tiles shift and grout lines become uneven. Wait the full 24 hours.
Inadequate Sealing and Maintenance
Terrazzo tile is porous. Without sealing, it stains easily. Water penetrates and causes damage.
Apply sealer after grout cures. Use a terrazzo-specific product, not a generic tile sealer.
Maintenance mistakes include using acidic cleaners or harsh chemicals.
In high-traffic areas like hospitals and airports, resealing every 2-3 years keeps the floor protected.
Is terrazzo tile difficult to install? The answer is nuanced.
If you're planning a terrazzo tile project, get a professional assessment of your substrate first. A1 Terrazzo can evaluate your floor, identify moisture risks, and provide a realistic timeline and approach. Contact us for a consultation and quote tailored to your specific needs.
Frequently Asked Questions
Can you install terrazzo tile yourself, or do you need a professional?
Small terrazzo tile projects like bathroom accent walls or entryways are possible for experienced DIYers with proper tools and patience. However, large-scale installations in commercial spaces, hospitals, airports, schools, require professional expertise. Substrate preparation, moisture control, and proper grouting are critical; mistakes lead to cracking, moisture damage, and costly repairs. Most facility managers and property owners choose professional installation to ensure durability and warranty protection.
How long does terrazzo tile installation take?
Installation timeline depends on project size and complexity. A small residential bathroom (100-200 sq ft) takes 3-5 days. Medium commercial spaces (500-1,000 sq ft) require 1-2 weeks. Large-scale installations in hospitals or airports can take 4-8 weeks or longer. Add 7-14 days for curing before the floor is fully operational. Moisture barriers and substrate prep may add time if existing conditions require remediation.
What causes terrazzo tile floors to crack or fail after installation?
The most common cause is inadequate subfloor preparation and moisture control. If substrate isn't properly leveled, reinforced, or sealed against moisture, tiles crack within months. Poor tile adhesive application, insufficient grouting, and skipping sealing also lead to failure. In wet areas like bathrooms and hospitals, moisture barriers must be installed correctly. Choosing a contractor with proven substrate expertise prevents these costly failures.
What tools and materials do you need to install terrazzo tile?
Essential tools include a tile cutter or wet saw with a diamond blade, notched trowel, grout float, level, spacers, and mixing bucket. Materials include tile adhesive (mortar), grout, sealer, and moisture barrier. Safety equipment is mandatory: dust mask, safety glasses, and gloves. For large commercial projects, additional equipment like grinding tools and polishing machines may be needed. Professional installers have specialized equipment that DIYers typically don't own.