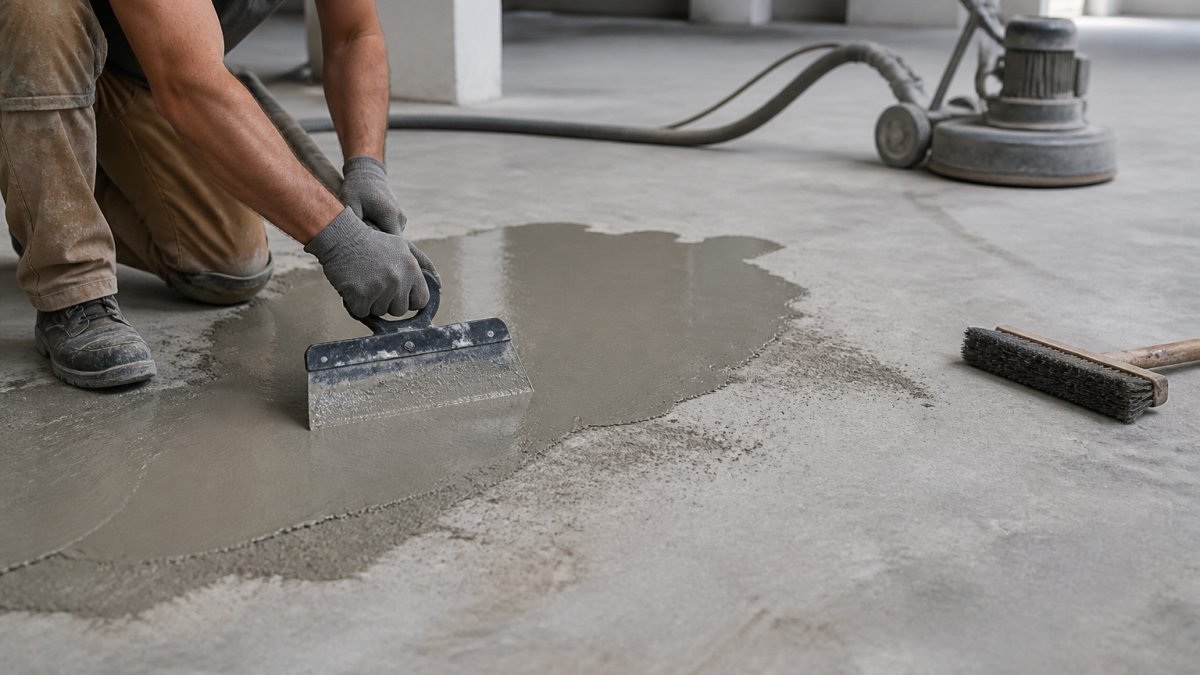
 how-to
Substrate Preparation for Terrazzo: 7 Essential Steps
Table of Contents
- Why Substrate Preparation Determines Terrazzo Success
- Step 1: Inspect and Clean the Concrete Slab
- Step 2: Assess Subfloor Integrity and Structural Soundness
- Step 3: Moisture Testing for Concrete Slabs
- Step 4: Repair Cracks and Voids Before Installation
- Step 5: Concrete Surface Profile (CSP) and Mechanical Grinding
- Step 6: Apply Bonding Agents, Primers, and Terrazzo Crack Isolation Membranes
- Step 7: Verify Flatness and Final Substrate Preparation
- Frequently Asked Questions
Last Updated: October 3, 2026
Why Substrate Preparation Determines Terrazzo Success
Substrate preparation terrazzo is the foundation of every successful terrazzo installation. Get it wrong, and you're setting yourself up for premature failure, adhesion problems, and costly repairs down the road.
Skipped preparation steps lead to cracked floors, delamination, and costly repairs. The good news: proper substrate preparation is entirely within your control.
This guide covers seven essential steps that determine whether terrazzo lasts decades or fails within a year.
Step 1: Inspect and Clean the Concrete Slab
Start with a thorough visual inspection of your concrete slab. Look for visible cracks, spalling, efflorescence (white powder deposits), and areas where the surface is soft or deteriorating.
Clean the entire slab with a pressure washer, then vacuum to eliminate moisture and debris. Remove all dirt, dust, oil, paint, sealers, and contaminants.
What to watch for during inspection:
- Deep cracks or voids that need repair before proceeding
- Soft or powdery concrete that suggests structural issues
- Oil stains or chemical residue that won't come clean
- Previous sealers or coatings that may interfere with bonding
Any contaminant left on the surface will prevent proper adhesion of bonding agents and primers.
Step 2: Assess Subfloor Integrity and Structural Soundness
Before substrate preparation terrazzo, verify that your subfloor can support the installation. Terrazzo is heavy and adds significant weight to your structure.
Check for:
- Cracks that run deeper than surface level
- Areas where the concrete is hollow or delaminating
- Structural movement or settlement
- Inadequate concrete strength (typically 3,500 PSI minimum compressive strength is required)
Repair structural concerns before proceeding. A cracked or compromised subfloor will cause terrazzo failure regardless of surface preparation quality.
Step 3: Moisture Testing for Concrete Slabs
Excess moisture prevents proper adhesion and causes terrazzo to fail prematurely. Terrazzo's porous matrix wicks moisture upward, causing delamination and substrate failure within months.
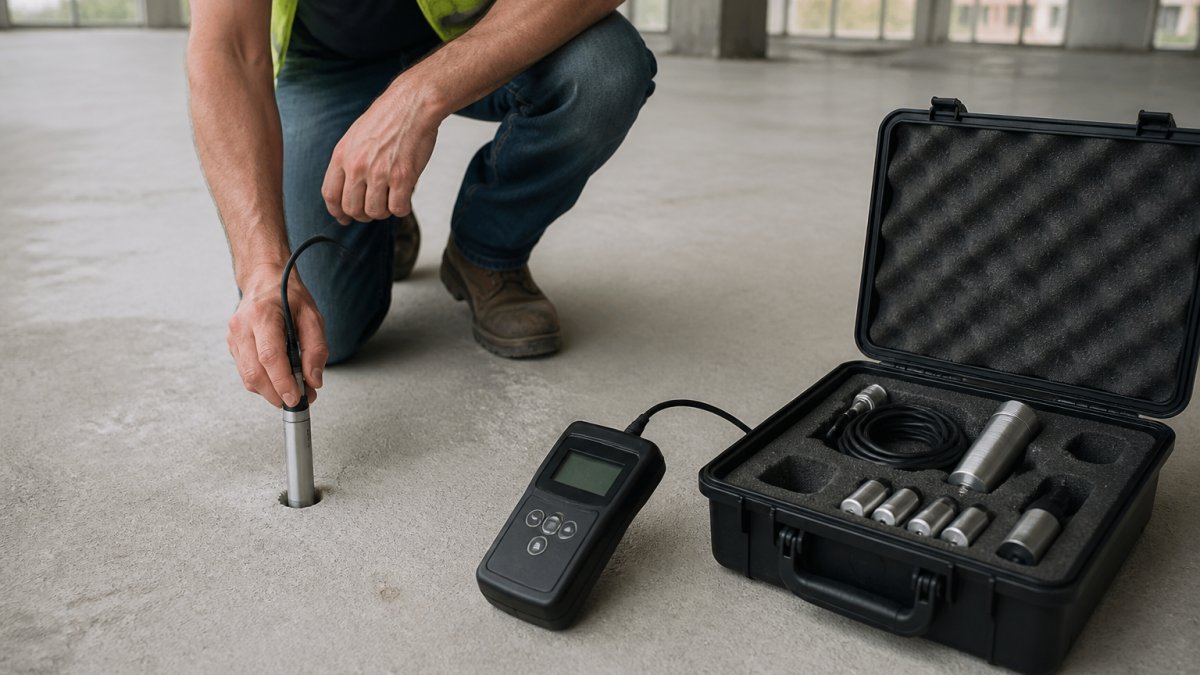
Two complementary moisture testing methods measure different aspects of moisture behavior:
Calcium Chloride (CaCl₂) Testing, Moisture Vapor Emission Rate (MVER)
ASTM F1869 measures moisture vapor emission using a calcium chloride desiccant dish sealed to the concrete surface.
- Standard threshold: No more than 3 lbs/1000 SF/24 hrs for standard epoxy or polyurethane-bonded terrazzo; some moisture-sensitive systems require 2 lbs/1000 SF/24 hrs or lower
- Testing duration: Minimum 60 hours; test at least 48 hours after cleaning to allow surface stabilization
If MVER exceeds acceptable limits, the concrete is still actively releasing moisture and is not ready for installation. Do not proceed until the slab dries further or a vapor barrier system is installed.
In-Situ Relative Humidity (RH) Testing, ASTM F2170
In-situ probes inserted to 40% slab depth measure relative humidity inside the concrete matrix. RH testing is more sensitive to deep moisture than surface MVER testing.
- Standard threshold: Relative humidity should not exceed 85%; above this, moisture migration accelerates and bonding agents cannot cure properly
- Equipment: Calibrated in-situ probes and digital humidity meter; probes must equilibrate 24 hours before reading
- Multiple readings: Test at least 3-5 locations, especially in previously wet areas or near plumbing
Interpreting Conflicting Results
If MVER and RH tests conflict, trust the RH reading. High relative humidity indicates moisture is still migrating upward and will cause post-installation problems.
Moisture Mitigation Options When Tests Fail
Special Consideration: Radiant Floor Heating Systems
For radiant floor heating systems, test the slab under normal operating conditions (heating system running at design temperature for 48 hours before testing).
Step 4: Repair Cracks and Voids Before Installation
Any crack or void will telegraph through terrazzo and grow over time, causing cracking or delamination.
Small cracks (hairline to 1/8 inch): Use epoxy crack injection; ensure bonding to both sides; allow proper curing. Larger cracks and voids: Clean debris, use concrete patching compound or epoxy filler, feather edges, and allow complete curing. Significant structural cracks: Consult a structural engineer and use flexible repair methods if movement is expected.
Your terrazzo is only as strong as the concrete underneath it.
Step 5: Concrete Surface Profile (CSP) and Mechanical Grinding
Concrete surface profile (CSP) creates a mechanical profile that allows bonding agents and primers to grip the concrete effectively.
Most terrazzo installations require CSP-3 to CSP-5, a moderately profiled surface with visible texture.
Methods include mechanical grinding, shot blasting, or scarifying. The goal is to remove laitance (weak concrete layer) and expose fresh, sound concrete to create mechanical bond with bonding agents.
Use vacuum extraction during grinding to capture dust. Vacuum and wipe the surface clean after profiling to prevent adhesion interference.
Achieving the correct surface profile requires a dry, stable foundation, which makes managing subfloor dampness a critical prerequisite for ensuring long-term adhesion and preventing future floor failure.Step 6: Apply Bonding Agents, Primers, and Terrazzo Crack Isolation Membranes
Apply bonding agents and primers to create chemical and mechanical bond between substrate and terrazzo. This step is where most adhesion failures originate.
Bonding agents serve two roles: (1) Mechanical interlocking, flowing into micro-voids and hardening to lock substrate and terrazzo, and (2) Chemical adhesion, forming covalent bonds with concrete and terrazzo material.
Choose an epoxy or polyurethane-based bonding agent appropriate for your terrazzo system. Epoxy bonding agents are standard for commercial applications and offer excellent adhesion and chemical resistance.
Application Protocol for Maximum Adhesion
- Coverage: Apply at manufacturer's recommended rate (typically 150-250 SF/gallon); underapplication is the most common cause of delamination
- Thickness: Maintain 3-6 mils wet film thickness; use notched trowel to ensure even distribution
- Temperature and humidity: Apply only at 50-85°F and RH below 85%
- Pot life: Do not apply material that has begun to thicken or gel
- Curing time: Allow full cure per manufacturer specs (typically 24-48 hours) before terrazzo installation
Primers: Creating a Stable Surface
Primers seal concrete and provide a stable surface. Epoxy primers (24-48 hour cure) are most common; polyurethane primers (12-24 hour cure) offer greater flexibility for thermal movement.
Terrazzo Crack Isolation Membranes: Addressing the Radiant Heat Gap
Crack isolation membranes are increasingly critical in modern substrate preparation, particularly in two scenarios competitors rarely address:
-
Radiant floor heating systems: Embedded radiant heating causes concrete to expand and contract cyclically. This thermal movement stresses the terrazzo-substrate bond. A flexible crack isolation membrane (typically 30-60 mils thick) absorbs this movement and prevents cracks from telegraphing through the finished floor. Install the membrane over the concrete and bonding agent, before terrazzo placement. Membranes must be rated for the expected temperature range (typically 40-120°F for radiant systems).
-
Structural movement or settlement: In buildings with ongoing minor settlement, active cracks, or flexible structural systems, crack isolation membranes decouple the terrazzo from substrate movement. This is especially important in historic building renovations or facilities with known structural issues.
Membranes are typically self-adhesive or applied with compatible epoxy. Seams must be overlapped and sealed to maintain integrity.
Troubleshooting Common Adhesion Failures
Understanding why adhesion fails helps you prevent it:
| Failure Mode | Root Cause | Prevention |
|---|---|---|
| Delamination within 6 months | Underapplication of bonding agent or primer; insufficient cure time before terrazzo | Verify coverage rate; document cure times; photograph wet film thickness |
| Adhesion failure in patches | Contamination (dust, oil, moisture) on concrete after profiling | Vacuum and wipe concrete immediately before bonding agent application; do not allow traffic on profiled surface |
| Adhesion failure near radiant heating zones | Thermal expansion stress without crack isolation membrane | Install membrane on all radiant-heated slabs; verify membrane cure before terrazzo |
| Slow or incomplete primer cure | Application in cold or high-humidity conditions | Monitor temperature and RH during application and cure; use heated enclosures if necessary |
| Adhesion failure at substrate transitions | Different substrate types (concrete to plywood) with incompatible bonding agents | Use bonding agents rated for the specific substrate combination; test adhesion on mock-ups before full installation |
Application Sequence and Timing
| Step | Duration | Key Consideration |
|---|---|---|
| Bonding agent application | 30-60 minutes | Full coverage, no puddles; maintain wet film thickness |
| Bonding agent cure | 24-48 hours | Temperature and humidity dependent; do not traffic the surface |
| Primer application | 30-60 minutes | Apply over fully cured bonding agent; maintain even thickness |
| Primer cure | 24-48 hours | Allow full cure before terrazzo placement; verify hardness with coin test |
| Crack isolation membrane (if required) | 30-60 minutes | Apply over primer; seal all seams; allow cure per manufacturer specs |
| Terrazzo installation | After full cure | Verify substrate is ready with adhesion test or pull-off test if specified |
Step 7: Verify Flatness and Final Substrate Preparation
Before terrazzo installation begins, verify that your substrate meets flatness requirements. Terrazzo is a finished floor, any irregularities in the substrate will be visible in the finished product.
Standard flatness requirements typically specify that the substrate should not deviate more than 1/8 inch over 10 feet. Check your substrate with a straightedge and laser level.
If you find high spots:
- Grind them down to match the surrounding surface
- Ensure the grinding doesn't expose weak concrete
If you find low spots:
- Use a self-leveling compound to bring the surface level
- Choose a compound compatible with your bonding agent and terrazzo system
- Allow proper curing before proceeding
This final verification step prevents problems during installation and ensures a professional-looking finished floor. Taking time for this verification step reduces call-backs and warranty issues significantly.
Frequently Asked Questions
What are the critical steps for preparing a concrete substrate for terrazzo?
Proper substrate preparation for terrazzo involves seven core steps: inspecting and cleaning the concrete slab, assessing structural integrity, performing moisture testing, repairing cracks and voids, achieving the correct concrete surface profile through grinding, applying bonding agents and primers, and verifying flatness. Each step directly affects adhesion and prevents delamination. Skipping or rushing any step significantly increases the risk of premature failure, cracking, or moisture-related damage within months of installation.
Why is moisture testing essential before terrazzo installation?
Moisture vapor emission from concrete substrates causes adhesion failures and delamination in terrazzo flooring. Moisture testing for concrete slabs measures the moisture vapor emission rate (MVER) to ensure it meets industry standards before bonding agents and terrazzo are applied. High moisture levels can prevent proper mechanical bonding and cause the terrazzo to separate from the substrate, leading to costly repairs. Testing identifies problems before installation, allowing time for mitigation strategies like vapor barriers.
How do you address cracks in a substrate before laying terrazzo?
Cracks must be repaired using appropriate methods based on their width and cause. Hairline cracks can be sealed with low-viscosity epoxy injection. Wider cracks require crack injection or patching with cementitious repair compounds. For active cracks or movement joints, terrazzo crack isolation membranes should be applied over the repair to prevent new cracks from reflecting through the finished terrazzo surface. All repairs must cure fully and be integrated with the overall substrate preparation plan to ensure long-term stability.
What concrete surface profile (CSP) is required for terrazzo installation?
Terrazzo requires a concrete surface profile (CSP) of CSP 2 or CSP 3, achieved through mechanical grinding, shot blasting, or similar abrasion methods. CSP 2 provides a light surface texture with visible aggregate; CSP 3 creates deeper mechanical texture with aggregate exposure. The correct profile removes contaminants, increases porosity for adhesion, and ensures bonding agents and primers can establish proper mechanical bond with the substrate. Insufficient surface profile is a leading cause of adhesion failure and terrazzo delamination.
Substrate preparation determines your terrazzo floor's lifespan and performance. Cutting corners here guarantees problems later. A1 Terrazzo brings 35 years of experience ensuring every installation starts with a properly prepared substrate. We handle comprehensive surface preparation for hospitals, airports, universities, and commercial facilities across Florida. Contact us for a consultation on your next terrazzo project, we'll ensure your substrate is ready for a floor built to last.