 how-to
How to Meet Terrazzo Flooring Installation Requirements for Schools
Last Updated: October 27, 2026
Quick Summary
Terrazzo flooring installation requirements for schools center on verified specifications for the binder system, system thickness, and tested slip resistance, plus a sound, clean, dry concrete slab confirmed by moisture testing. Write these requirements, a mockup, and the manufacturer's installation requirements into the specification before bids go out.
- Epoxy terrazzo is the common choice for thin-set school installations because it cures faster than cementitious systems.
- Test slab moisture vapor emission before specifying the system, and log and sign off the results.
- Specify a crack isolation membrane wherever the slab has control joints, expansion joints, or a cracking history.
- Build the schedule backward from the reopening date and add contingency for moisture mitigation.
- Name the slip resistance test method and threshold in the spec instead of writing slip resistant.
Table of Contents
- Why Terrazzo Flooring Specifications Matter for Schools
- Terrazzo Flooring Specifications Schools Must Verify
- Terrazzo Substrate Preparation and Moisture Testing
- Terrazzo Floor Curing Time and School Scheduling
- A Pre-Installation Checklist for School Projects
- Codes, Standards, and Specification Requirements
- Quality Control, Inspection, and Handover
- Planning Your School Terrazzo Project with A1 Terrazzo
- Frequently Asked Questions
Why Terrazzo Flooring Specifications Matter for Schools
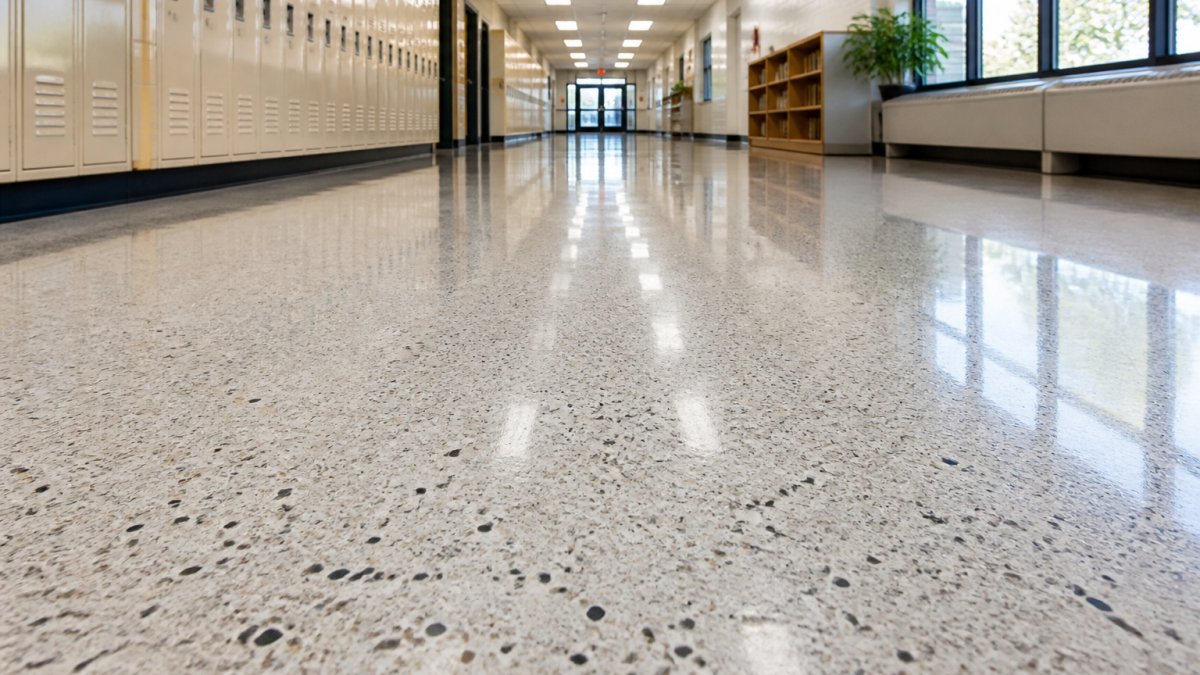
Terrazzo flooring installation requirements for schools come down to one thing: a floor that survives decades of foot traffic without becoming a maintenance problem.
At A1 Terrazzo, we have over 35 years of experience in commercial terrazzo flooring installation and professional maintenance.
That is the throughline of this guide. Terrazzo is a finish applied to a substrate, and in schools the substrate is where projects live or die.
Below, we walk through what to verify, in order.
Terrazzo Flooring Specifications Schools Must Verify
Terrazzo flooring specifications are the written technical requirements that define the binder, aggregate, thickness, slip resistance, substrate condition, and joint layout for a school project. These specs belong in the architectural guide specification before bids go out.
Three items decide most of the outcome:
- Binder system: epoxy or cementitious
- System thickness: total build-up over the slab
- Slip resistance: tested to the standard your district requires
Write all three into the spec with a mockup requirement. A sample panel approved on site settles arguments later.
Epoxy vs. Cementitious Binder Systems
Epoxy terrazzo uses a resin binder and cures fast. Cementitious terrazzo uses a cement binder, cures slower, and handles moisture differently.
For schools, epoxy is the common choice for thin-set installations over prepared concrete.
Cementitious systems suit projects where a thicker, cement-based build-up fits the schedule.
The decision hinges on your slab, your calendar, and your budget. Our guide to epoxy vs. cement terrazzo flooring compares the two systems in detail.
Aggregate, Thickness, and Slip Resistance
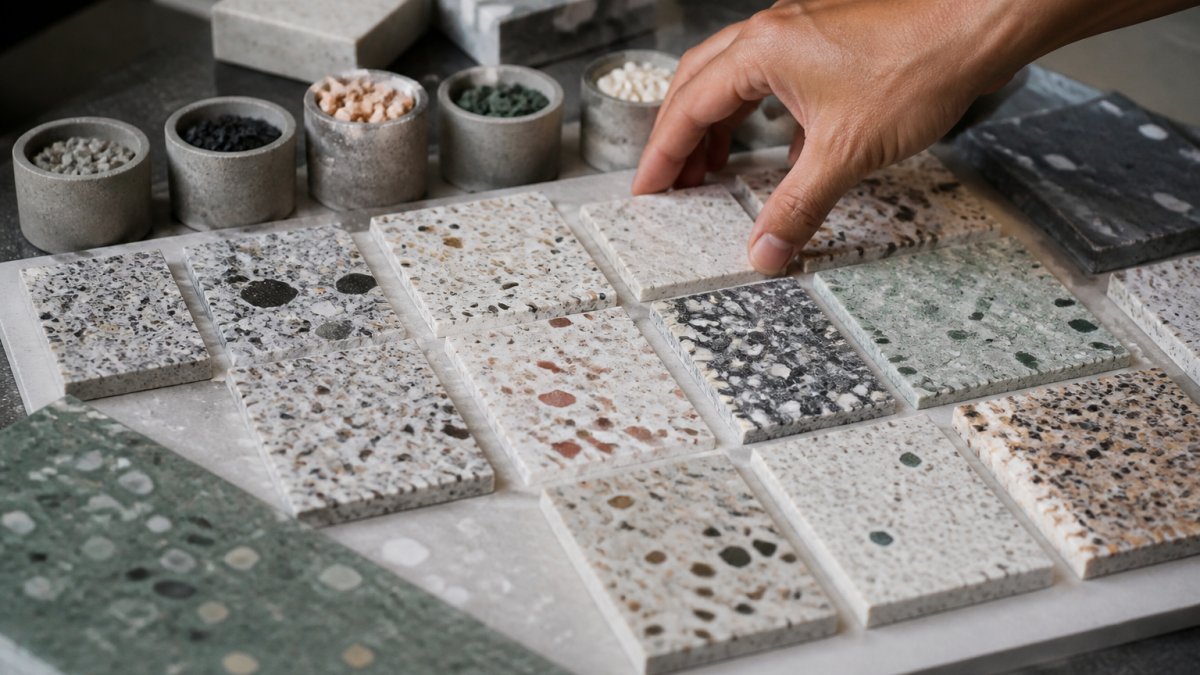
Aggregate choice drives both look and grip. Marble chips and glass aggregate are the standard options, and chip size and blend determine the final floor finish.
Thickness follows the system. Thin-set epoxy terrazzo builds up less than a cementitious system, which affects door heights and transitions.
Slip resistance is the safety item. A breakdown of slip resistance standards for university flooring covers the reference values.
Terrazzo Substrate Preparation and Moisture Testing
Terrazzo substrate preparation is the step that decides whether the floor lasts. The concrete slab must be sound, clean, and dry before any binder goes down.
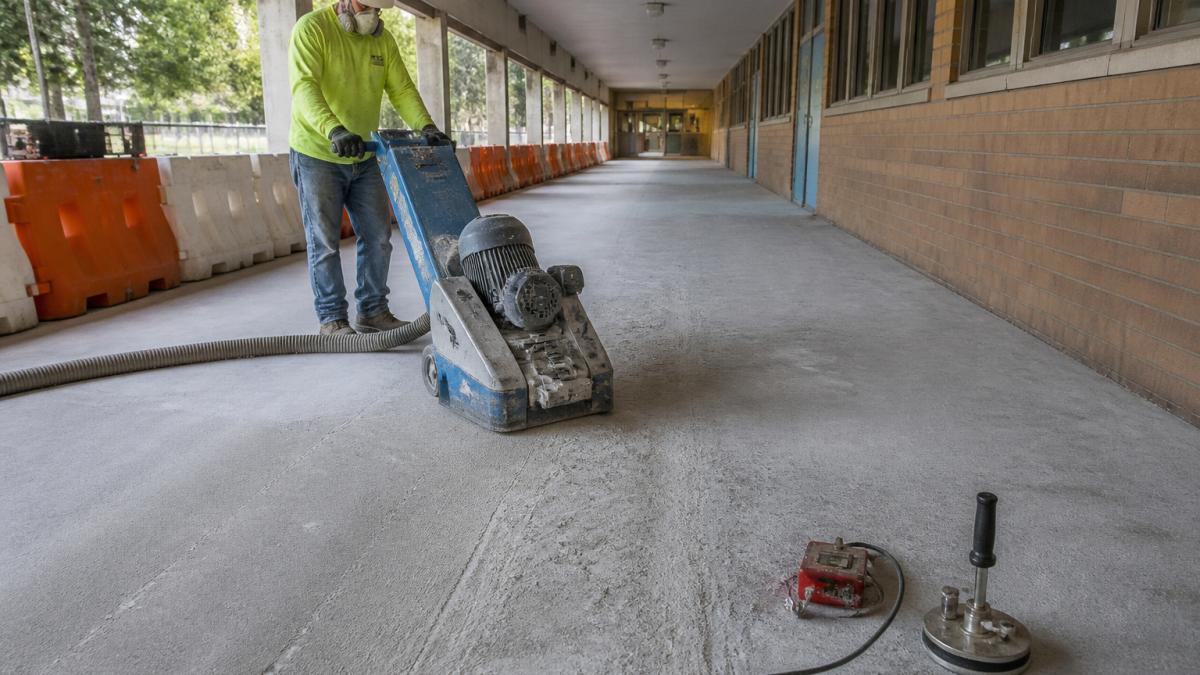
Surface preparation typically includes:
- Shot blasting to open the concrete surface
- Grinding to level high spots
- Patching of cracks and voids
A common mistake is skipping the moisture test because the slab "looks dry." It isn't a visual question.
Moisture Testing and Acceptance Criteria
Moisture testing measures how much vapor the slab releases (F1869 Standard Test Method for Measuring Moisture Vapor Emission Rate of Concrete...).
Acceptance criteria come from the terrazzo system manufacturer and the project specification.
If readings fail, the fix is a vapor barrier or an approved moisture mitigation system. Do not proceed and hope.
A guide to substrate preparation steps walks through the sequence.
Crack Isolation and Control Joints
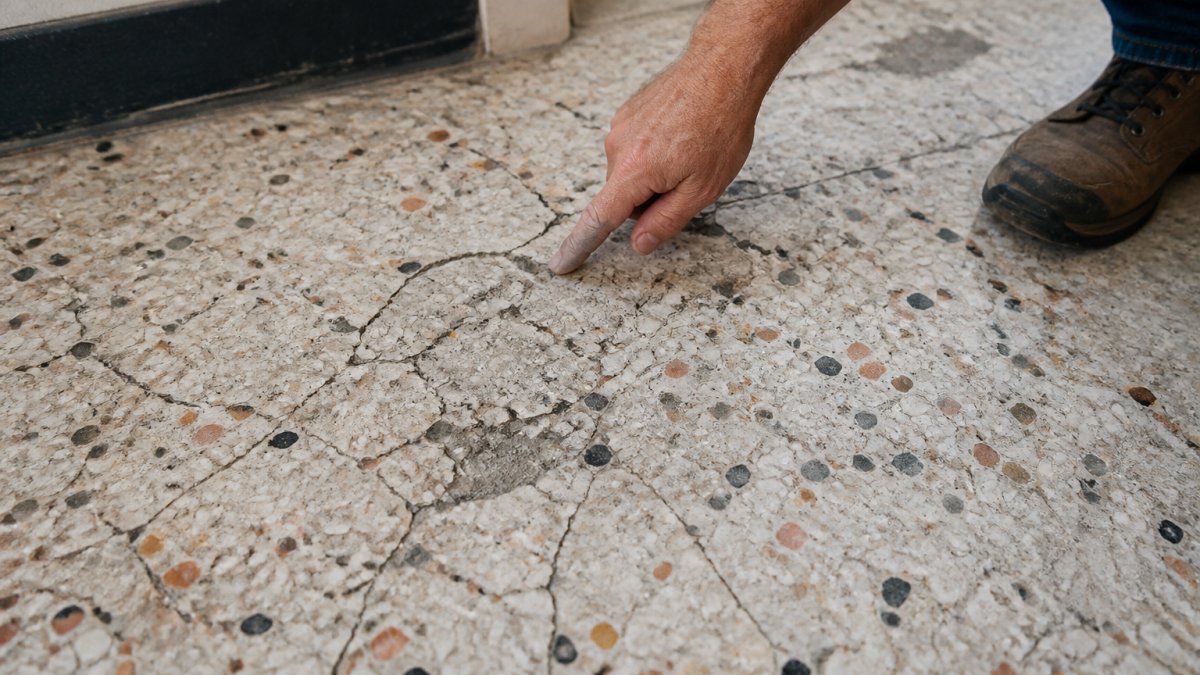
Concrete moves. Terrazzo does not move with it unless you plan for it.
A crack isolation membrane is a flexible membrane applied over the slab to stop reflective cracking from reaching the terrazzo surface.
Joint layout must be coordinated with the terrazzo layout and the building's structural joints. Metal dividers can serve as both a design feature and a joint line.
Terrazzo Floor Curing Time and School Scheduling
Terrazzo floor curing time is the variable that wrecks school schedules. Epoxy systems cure faster than cementitious systems, but both need time before grinding, polishing, and reopening, and in a school, that time has to fit inside a summer break, a holiday recess, or a phased occupancy plan.
Plan the installation sequence around the academic calendar:
- Substrate prep and moisture testing
- Primer and crack isolation membrane
- Terrazzo pour and cure
- Grinding and polishing
- Sealing and handover
That sequence is standard. What makes school work different is that steps 1 through 5 cannot simply run back-to-back on a live campus.
How Long Each Phase Actually Takes
Exact durations come from the terrazzo manufacturer's data and the project schedule, but the pattern is consistent across systems:
- Substrate prep and moisture testing: one to several days per area, depending on slab condition and how many test locations the spec requires. Moisture test results may need to be logged and reviewed before the system is released.
- Primer and membrane: typically a short window, but each coat has its own recoat window and the membrane must cure before the terrazzo goes down.
- Pour and cure: epoxy systems generally reach working strength faster than cementitious systems, which is why epoxy is common in thin-set school work. Cementitious systems need longer before grinding.
Do not compress these windows to hit a reopening date. A floor ground before it is ready will show it later.
Phasing Around Occupied Buildings
Most school terrazzo work falls into one of three patterns:
- Summer or recess window: the whole scope runs while the building is empty. This is the cleanest option, but it concentrates risk, any delay in substrate prep or moisture mitigation eats directly into the reopening date.
- Phased corridors and wings: work moves zone by zone while the rest of the building stays occupied. This requires dust containment, negative air where required, protected egress routes, and a joint layout that lets each phase tie into the next without a visible seam.
- New construction: terrazzo lands after wet trades finish and before furniture delivery, coordinated with the general contractor's schedule rather than the academic calendar.
For campus-wide work, an installation timeline guide maps the phases.
Coordination With Other Trades
Terrazzo is a finish, so it goes late, but not last. Coordinate so that:
- Ceiling, mechanical, and wet trades are complete above and around the area.
- Door frames and casework heights account for the finished terrazzo thickness and any transition strips.
- Furniture and equipment delivery is scheduled after sealer cure, not after the last polish pass.
Building the Schedule Backward
Start from the reopening date and work backward: sealer cure, final polish, grinding, terrazzo cure, membrane cure, primer, moisture testing, and substrate prep. Add contingency for moisture mitigation, because a failed reading is the single most common cause of a slipped school terrazzo schedule.
The installation sequence is standard, but each phase has its own timing constraints that must fit inside a school break.
| Phase | Timing note |
|---|---|
| Substrate prep and moisture testing | One to several days per area, depending on slab condition |
| Primer and membrane | Short window; each coat has its own recoat window |
| Pour and cure | Epoxy reaches working strength faster than cementitious |
| Grinding and polishing | Multi-step process with several grit passes |
| Sealing and handover | Sealer cure plus final inspection against approved mockup |
A Pre-Installation Checklist for School Projects
Use this checklist before the terrazzo crew mobilizes:
- Slab cured to the manufacturer's minimum
- Moisture test completed and logged
- Crack isolation membrane specified at all joints
Codes, Standards, and Specification Requirements
School flooring falls under accessibility, safety, and indoor air quality rules that vary by jurisdiction. Confirm the current requirements with your local authority having jurisdiction and reference the adopted building code edition in your specification. What follows is the framework most school terrazzo specs are built on, not a substitute for the adopted code on your project.
Accessibility and Transitions
Floor level changes are the accessibility item that most often collides with terrazzo. The 2010 ADA Standards for Accessible Design address floor level changes, and the accessible route provisions generally limit vertical changes without a ramp or elevator to 1/4 inch, with changes between 1/4 inch and 1/2 inch beveled at a slope no steeper than 1:2.
Slip Resistance
Slip resistance is the safety item school districts ask about first. There is no single national slip-resistance number that applies to every school floor; requirements come from the adopted code, the district's own standards, and the terrazzo system manufacturer. The practical move is to name the test method and the threshold in the specification rather than writing "slip resistant" and leaving it to the bidder.
Indoor Air Quality and Sealers
Terrazzo itself is largely inert once cured, but sealers, primers, and membranes are the products that carry volatile organic compound limits. Many school specifications reference low-emitting materials criteria such as those in the U.S. Green Building Council's LEED rating system or the Collaborative for High Performance Schools (CHPS) best practices. If your district requires low-emitting materials, write the limit into the spec and require product data submittals before installation, not after.
Industry Standards and Manufacturer Requirements
The terrazzo system manufacturer's installation requirements are the controlling technical document for substrate condition, moisture limits, membrane selection, and cure windows. The specification should adopt those requirements by reference and require the contractor to submit them. Industry guidance from trade associations can fill gaps the manufacturer's literature does not address, but the manufacturer's written requirements govern acceptance.
What to Name in the Specification
At minimum, your spec should name:
- The slip resistance test method and threshold
- The terrazzo system manufacturer and the specific system
- The adopted building code edition and accessibility standard
Verify Locally
Codes are adopted and amended at the state and local level, and school districts often layer their own facilities standards on top. Before the spec goes out for bid, confirm the current adopted edition, any local amendments, and the district's own requirements with the authority having jurisdiction. The framework above tells you what to ask; the local adoption tells you the answer.
Quality Control, Inspection, and Handover
Inspection happens at three points: before the pour, during curing, and at final polish.
Before the pour, verify moisture readings and membrane coverage. During curing, watch for shrinkage cracks and delamination.
Handover should include a written maintenance plan. The wrong cleaning product can dull or damage a terrazzo floor, so train the custodial team before they touch it.
Planning Your School Terrazzo Project with A1 Terrazzo
Getting the specification right is the difference between a floor that lasts and one that gets patched.
Have a school project on the calendar? Contact our team to talk through your specification and schedule.
The hardest part of a school terrazzo project is not the terrazzo.
A1 Terrazzo handles commercial terrazzo installation and professional maintenance with 35 years of specialized experience.
Frequently Asked Questions
What are the installation requirements for terrazzo flooring in schools?
School terrazzo projects require a sound concrete substrate, documented moisture testing, crack isolation membranes, and a specification that matches the binder system to the school's traffic and cleaning routines. The work should follow an architectural guide specification, include a mockup for approval, and sequence installation around the school calendar so curing and polishing finish before students return. Verify slip resistance and joint layout before work begins.
How long does terrazzo flooring take to install and cure?
Terrazzo floor curing time depends on the binder.
What substrate preparation is required before installing terrazzo?
Terrazzo substrate preparation includes shot blasting or grinding the concrete slab to a clean, profiled surface, repairing cracks and spalls, and confirming the slab is dry enough for the chosen binder. Moisture testing and crack isolation membrane installation should be documented before the terrazzo goes down. Skipping these steps is the most common reason terrazzo cracks within the first year.
What are the downsides of terrazzo floors in schools?
Terrazzo has a higher initial installation cost than vinyl or carpet, and the installation window is longer because of curing and polishing. It is also hard underfoot, which matters in classrooms where students sit on the floor. However, its life-cycle cost is low because it lasts decades with basic cleaning, and it does not harbor mold or allergens the way carpet can.